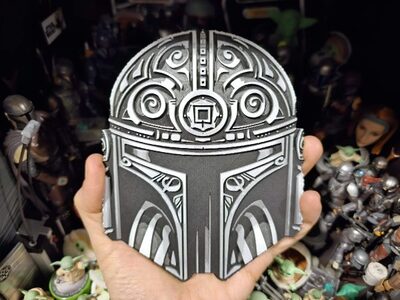
Star Wars (Inspired) "Mando Fandalorian" HueForge Mandalorian Helmet
MakerWorld · Chris Pirillo
MakerWorld
Its licence (personal use only) does not allow printing to order. You can download the file at the source and print it yourself.
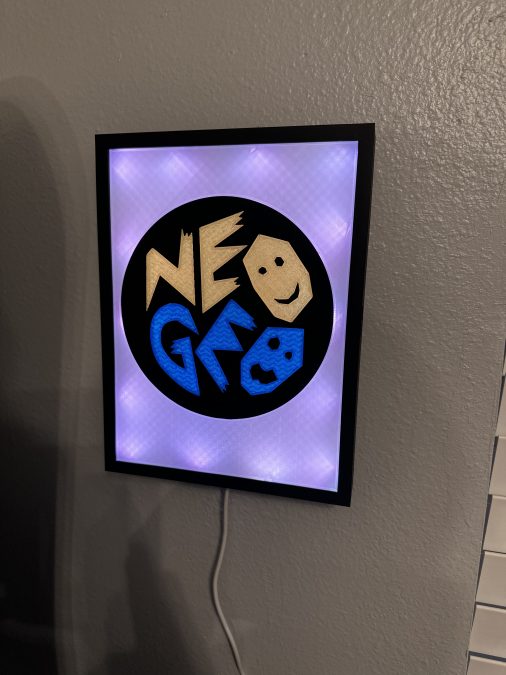
models to printThis model can either be used as just a multicolor sign, or print the Light Box, add leds and create your own neon! Note: I'm making quite a few of these for different retro gaming systems, so you may see some overlap in photos (IE Turbografx Lightbox used as an example). I do test all of the fitment of the signs, but each lightbox is customized to their corresponding system. Print the Light Box FIRST to see how big you can get the entire thing. I printed at 170% scale which was 246x186x34 (Bambu P1P). The smaller you print it, the higher the chance it will not go together easily/cleanly. The bigger the better. 1.) Print all files separately in their corresponding colors, I used black PLA for the light box and circular part of the logo, blue and yellow PETG for their corresponding colors. Note: Print with your choice of infill pattern or print solid so you don't see it. They should all be press to fit, but may require a little sanding/trimming if your printer isn't as accurate as mine was during the process. Also keep in mind if printed at small scale it may not be as easy to assemble. The eyes/mouth in the logo can be difficult to place, but I found once you get them started, simply press them on a flat object (i used the floor) to force them into place. 2.) Once the main plate is fully assembled, I used packing tape to keep everything from shifting, as pictured. (Only the O’s seemed to need it but feel free to use tape on the entire back just in case 3.) Run your LED strip through the bottom hole, then attach either with hot glue or adhesive to the inner wall as shown. (I wrapped my LEDS twice around to make it nice and bright) 4.) Place the plate inside the base, it should catch on a small lip inside the base to keep it flush. Then dab small amounts of hot glue around the edge to keep it in place as shown. 5.) Place two screws in your wall on a level line, about 3 inches apart, then simply place the sign on them (the back lip should catch). 6.) Enjoy!
MakerWorld · Chris Pirillo
Printables · Teo_211
Printables · Sam Lansink
Printables · Raavhimself
MakerOnline · HueForgeMaster
Printables · VectorHunt
MakerWorld · minivanbuzz
Printables · AlDente-Lab
We need the necessary cookies for signing in and for ordering. With your consent we also measure visits (Google Analytics) and how our advertising works (Meta). Without consent none of that is loaded. More about cookies