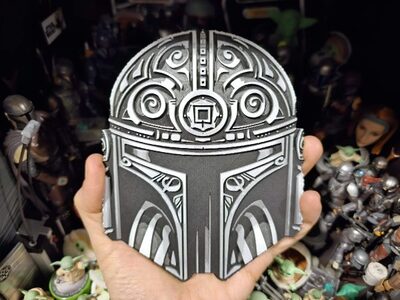
Star Wars (Inspired) "Mando Fandalorian" HueForge Mandalorian Helmet
MakerWorld · Chris Pirillo
MakerWorld
Its licence (personal use only) does not allow printing to order. You can download the file at the source and print it yourself.
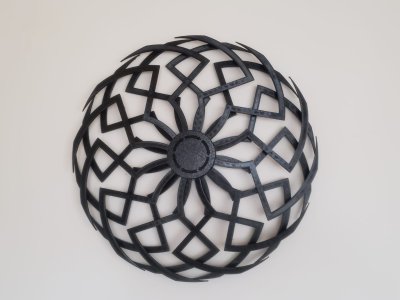
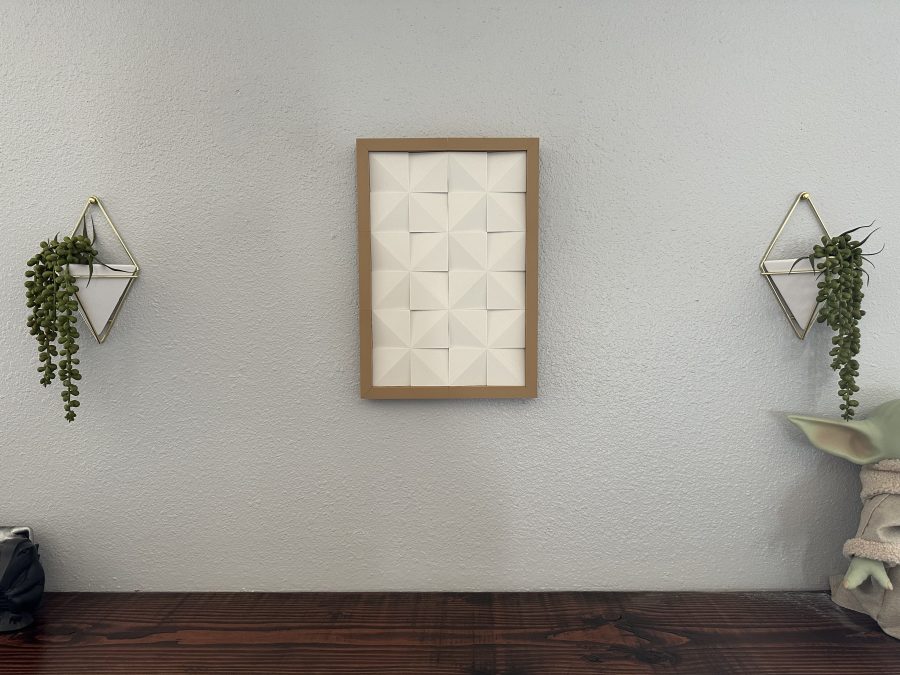
models to printThis is essentially a modular piece of hangable Mid Century Modern art that can be made as big or as small as you'd like. If using a frame it has a minimum size of 2x2 tiles, but can be expanded as big as you'd like. Instructions: Decide how big you'd like the piece to be, and print your tiles. I chose 2x3. Printed in Hatchbox Matte PLA with supports enabled for the connecting holes your slice should look something like this. Note: The texture you see in the pictures is achieved by the layers, so it can be increased/decreased depending on layer height. My example uses .08. Once printed calculate how many frame pieces are needed to enclose the piece. In my example I used. Printed in Hatchbox Wood PLA 4 Left Corner Frame pieces 4 Right Corner Frame pieces 2 Middle Frame Pieces Enable supports for these pieces as well and it should look something like this. Now comes the fun part of calculating the amount of pegs/connectors/hangers needed for your piece. I overestimated mine, but they use very little filament and it was nice to have extras. PRINT IN PETG! it is much stronger for this use case and I found PLA to be far too brittle. For my piece I used 9 Connectors 1 Hanger 48 Pegs (overestimated) Use supports for the hanger pieces Once all pieces are printed you're ready to assemble. Simply slide pegs into your panels creating rows, then slide those rows together as shown. Note: If any pegs are broken inside when assembling, or if you decide to make it larger at any point and they break; use a screw and thread it into the broken part of the peg, then once its seated simply pull it out. I had to do that a few times during testing and it worked great. Attach frame pieces to your piece and flip face down as shown. Place your hanger connector a the top middle of your piece, or if your piece is larger attach multiple to increase stability. Then use regular connectors for the remaining holes. You're done! Now you can proudly display your beautiful piece of Mid Century Modern art! Place a screw(s) close to the wall and the connectors should keep it equally spaced from the wall. If you found this useful, please consider buying me a beer!
MakerWorld · Chris Pirillo
Printables · Teo_211
Printables · Sam Lansink
Printables · Raavhimself
MakerOnline · HueForgeMaster
Printables · VectorHunt
MakerWorld · minivanbuzz
Printables · AlDente-Lab
We need the necessary cookies for signing in and for ordering. With your consent we also measure visits (Google Analytics) and how our advertising works (Meta). Without consent none of that is loaded. More about cookies