Printables.com
Prusa CORE One/+/L Dry Box mod
🏭 100+ tiskáren
·
po celé ČR
·
⏱ nabídky do 24 h
Autor modelu: Scott
·
originál na Printables.com
Popis
Update log at the end of description
INTRODUCTION:
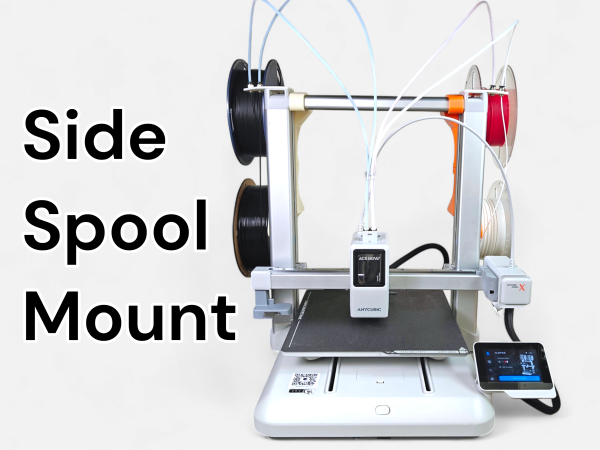
This mod involves adding a dry box on the right side of the printer.
I decided to make my one as I wanted it be printable on the actual bed size of CORE One printer.
I can't garantee it to be 100% air tight, but I tried to make it as sealed as possible.
OPTIONS:
I offer two options stored in two different folders:
•
A standard dry box that will fit perfectly on the CORE One and will appear flush with the side of the printer. This one can store up to 7cm width spools (Prusament for example).
•
A larger dry box which will protube a little from the printer but can store larger spools like Sunlu (8cm width).
Among the files of each folder, I included 2 options for the dry box:
•
One with a hole for PTFE adapter
•
One without this hole so you just pass filament through.
I included for the lid (door) and the handle two files:
•
STL for single color parts
•
STEP file for multi color parts in the case you can print in multi color
HARDWARE needed:
For this mod you will need:
•
4* M3x20mm screws to mount the drybox on original spool holder holes
•
2* M3x35mm screws for the hinge of the drybox
•
1* rectangle hygrometer like this one
•
1* PTFE adapter PC4-M10 (optional): like this one
CONTENT:
Here are the different components you will have to print:
•
Dry box main part (see above for options)
•
Lid box (single or multi color)
•
Lid gasket
•
Handle (single or multi color)
•
Handle gasket
•
Handle lock
•
3 spool adapters for different inside diameters (50mm, 55mm and 60mm) to keep the spool as centered as possible on the dry box
•
Dessicant basket
•
Dessicant basket lid
•
Hygrometer plug to clos the hole if you don't have one
PRINTING and FILAMENT:
I advise you to print the gaskets with TPU filament as soft as possible
Other than that, you can choose any filament you want!
ASSEMBLY
Here are the steps to assemble the mod. Even if nothing is complicated, I rather detail each step to explain some details.
Handle:
Attach the gasket on the handle. Make sure to fit it well in and check orientation as shown on the picture:
Put the handle on the door (make sure to keep the right orientation as well):
Add the handle lock on the holes:
The lock should fit perfectly, but if you have trouble you can reprint handle gasket with 0.2mm thickness less.
Lid/door gasket:
Lid/door on the dry box:
Hygrometer:
PTFE Adapter (PC4-M10):
Spool inserts:
You can choose between 3 inserts to fit your favorite spools depending on their inside diamter
Printer mounting:
Secure the dry box on the printer thanks to 4* M3x20mm in place of the spool holder.
UPDATES:
27/01/2026:
•
Reduce tolerances for the screw holes of the main parts so M3 sockets won't fail so easily and screw won't spin.
26/02/2025:
•
Changed the lid and its gasket to fit easier even if the lid is already installed.
•
Addition of a honeycomb version of the single color lid
COMMENTS:
I hope you will like it, don't hesitate to give me feedbacks or ask anything! :)
Happy printing!
SUPPORT ME!
If you want to support me, don't hesitate to like and download the files so I can earn some prusameters or consider using my referal code when buying a printer: @ScottWolfs :)
If you really want to help, you can tip me HERE.
Podobné modely
![[BaBo] top lid module](/assets/thumbs/99/mw_1dcc85fa862228d25e151500900b3b15.jpg)


![[BaBo] insert wiper 2x1](/assets/thumbs/61/mw_2bc97a5a8db1d6af52b04dd818495091.jpg)