Printables.com
Ultimate Filament Dry Box
🏭 100+ tiskáren
·
po celé ČR
·
⏱ platba po přijetí tiskárnou
Autor modelu: Krieger
·
originál na Printables.com
Popis
Update 2023_11_16
• Added pdf for hole alignment. Credit to Printy Pilcrow.
Update 2023_08_25
• Added “Dessicant Plate.3mf”
• Added pictures of Dessicant Plate
• Updated Description
Summary
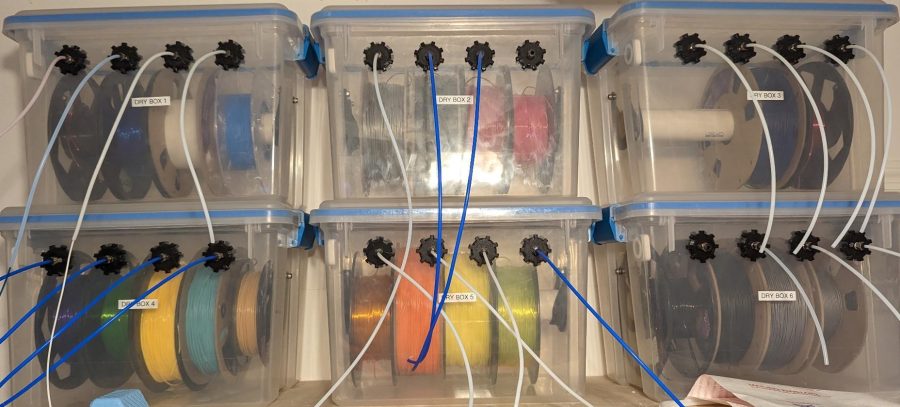
I have spent years trying to find a filament dry box that was cheap, airtight, and holds more than 1 roll of filament. This is what I eventually ended up with.
Bill Of Materials
You will need:
• 1.5 inch PVC
• 5xM5 Screws and nuts
• Propane torch
• 4xM10 threaded pneumatic fittings (for bowden tubing)
• 3/4 inch EMT conduit https://www.homedepot.com/p/3-4-in-x-10-ft-Electric-Metallic-Tube-EMT-Conduit-853429/100400406
• Sterilite 20 Qt. Clear Gasket Storage Box https://www.walmart.com/ip/Sterilite-20-Qt-Clear-Gasket-Storage-Box-Blue-Latches-with-Clear-Lid/39916455?athbdg=L1102&from=searchResults
• Sharpie Marker
• Vise Grips/Pliers
• “Dry Box Mount Jig”
• “Thru Hole Alignment Tool”
• 2x “Dry Box PVC Mount”
• 4x"M10x1 Threaded Thru Fitting"
• 4x"M10x1 Threaded Nut"
• Hacksaw
Optional:
• Aqara humidity sensor for humidity monitoring over wifi
• Soldering Iron
Assembly
Layout
The first items you will need to print are both of the jigs.
The “Thru Hole Alignment Jig” goes along one of the long sides of the box. the tabs on the end should index the jig on the ribs protruding from the side of the box. Hold the jig in place firmly and draw circles with the sharper marker using the jig. There will be 4 holes.
Next, use the “Dry Box Mount Jig”. This will be used on the two short sides of the container. Align the jig so the “TOP” marking on the jig is pointing towards the opening (the top) of the container. Place the jig in the indentation on the side of the container, and slide it all the way up. Use the sharpie marker to mark each of the holes in the jig. Repeat for the other side.
Melting the holes
DO THIS IN A WELL VENTILATED AREA. YOU DO NOT WANT TO BREATHE THE FUMES.
DO NOT CUT OR DRILL THE HOLES. THE PLASTIC OF THE BOX WILL SHATTER. ASK ME HOW I KNOW.
Now you need a propane torch, the EMT conduit, and either a large tip soldering iron, or a M5 screw and Vise Grips/Pliers.
Cut off a 6-8inch portion of the ¾ inch EMT conduit. Lock the Vise Grips so you can grip the EMT conduit at one end. Locking them on the wall of the conduit is the most secure way. Make sure they are tight, or you risk dropping a red hot piece of metal on your foot/floor/etc.
Heat the EMT conduit with the blowtorch. The conduit needs to be very hot to cleanly melt through the plastic. Once the conduit is heated sufficiently, align it with one of the 4 circles you drew using the “Thru Hole Alignment Jig” on the long side of the box. Keep even pressure until the conduit cuts through the entire hole. Repeat for the 4 other holes. The conduit will need to be reheated.
Now, either use a soldering iron with a large tip, or grip an M5 screw with the pair of Vise Grips. Heat the screw with the propane torch and use it to melt the holes on the short sides of the box that you drew with the “Dry Box Mount Jig”.
Mounting Parts
Print 4 of the "M10x1 Threaded Thru Fitting" and "M10x1 Threaded Nut". You may need to adjust the scale on the nut to get it to thread nicely onto the fitting. Some grease can help as well. Adjust the size of the nut, not the fitting. Now, use a wrench to install the M10 pneumatic fittings into the "M10x1 Threaded Thru Fitting". Threads are modeled into the thru fitting. The fit will be tight, but the pneumatic fitting will lock in. Now assemble the thru fittings in the 4 large holes in the box.
Next, use 4 of your M5 screws and nuts to attach the 1.5in PVC mount. A lowered mount will bring the spools right close to the bottom of the box, to allow you to place silica packets on the top of the spools. The standard mount raises the spools off the bottom so silica gel packets can be placed beneath the spools.
Finally, cut your PVC to length with a hacksaw. This will differ between the standard mount and the lowered mount due to the draft angles on the box. Measure twice, cut once.
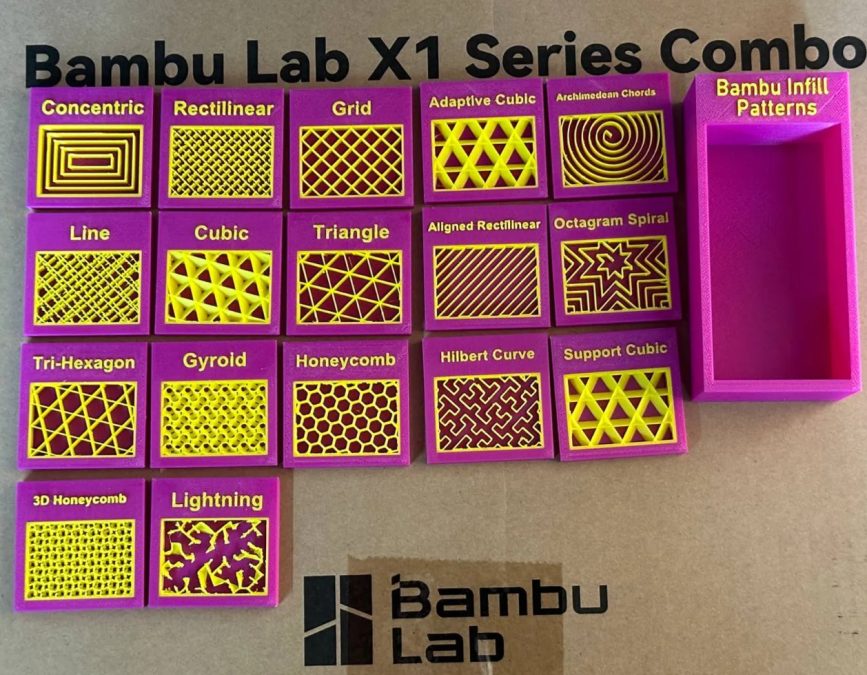
Optionally, you can also print the “Dessicant Plate”. This needs to be printed with 0 top layers, and 0 bottom layers. Honeycomb infill is my preferred infill for this model. It will sit at the top of the box, above your rolls of filament. You can place dessicant packets on this plate, which makes for easy replacement of dessicant. This plate will only work with the lowered PVC mounts. You will need 2 dessicant plates for 1 dry box.
Congratulations. You now have an “Ultimate Filament Dry Box”
If you want to get fancy, you can also add an Aqara temp/humidity sensor and tie it in to your Home Assistant. I have this set up to alert me if any of my dry boxes get above a certain humidity threshold.
Podobné modely
od 170 Kč