Sanding Wedge V2
MakerWorld · ralf.hoerhager

autor tjdesign · Printables
Licence (CC BY-NC (jen nekomerčně)) dovoluje jen nekomerční použití. Stáhněte si soubor u zdroje, nahrajte ho k nám a vytiskněte na pronajaté tiskárně pro vlastní potřebu, ne na prodej.
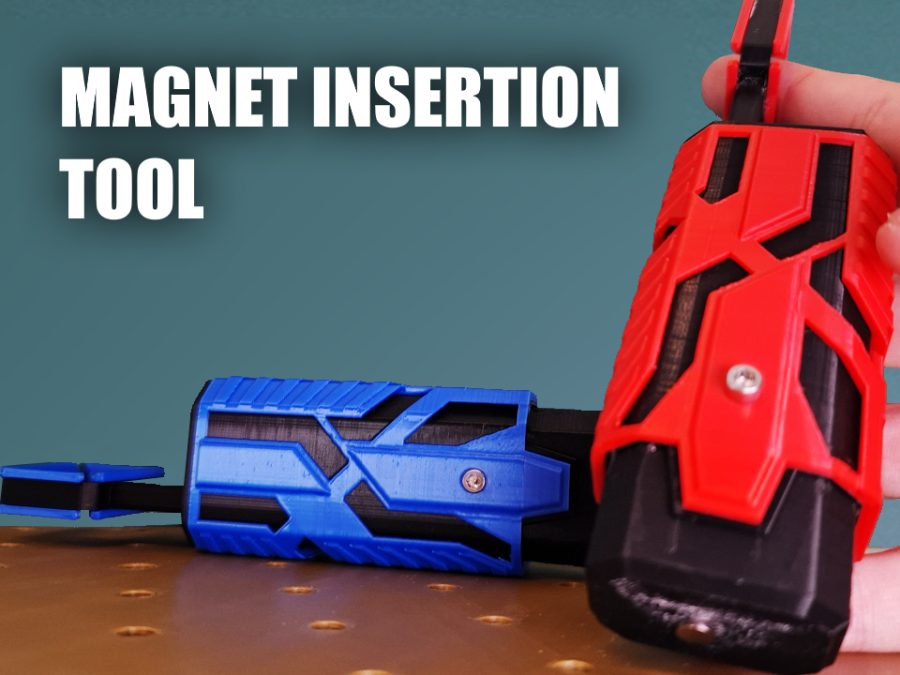
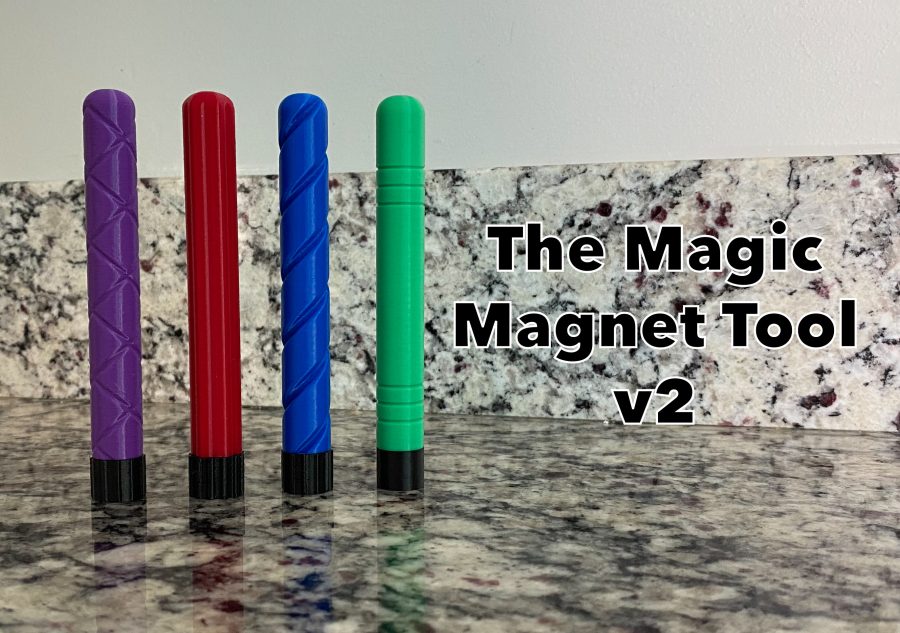
Nahrát soubor a vytisknoutVersion 2 changes: I made a few new shaft handles, and a few covers that have texture for easier removal. This handy little magnet tool will help you to never mess up the polarity of your magnets again. Simply use one color/design (colorblind friendly) to insert the magnet on one side, and use the other on the opposing side for a perfect match. • Prints in four pieces for supportless printing. • Removeable lid so when the tip gets covered in superglue and unusable you can easily switch it out for a new one. • Designed to fit 8x3mm magnet or smaller. Bigger is better because the magnet is stronger, but the tip will hold a smaller magnet if that's what you have. ASSEMBLY: Choose one shaft style and print it and one of each small piece in a color of your choice. (I like to print "Magnet Tool Cover" in black). Glue the pieces together using the small pin to align everything correctly. Glue magnet inside recess in any orientation. Let dry completely before putting on the cover. You can glue it in place if you wish but I like to be able to remove it if it gets too messy. Print another tool in a different color/design and glue together the same way. Attach a magnet to your finished tool and use it to insert the magnet correctly. The flat side of your tools should attract to each other as seen in the second picture. USE: Choose one color/design magnet tool to begin inserting magnets. I found it works best if I do one at a time, otherwise the glue dries too fast to do a good job. Put one magnet on the tip of the tool, one drop of glue in the hole, then use the tool to press the magnet in tightly. If the hole is loose gently slide the tool laterally to break the magnetic field. On the opposite side use the other tool you made to do the same thing. The two magnets should now attach perfectly. When the tip gets too messy simply print another one and replace the tip. Edit: New threads piece added 1-6-24, fixes “dishing” problem caused in the original. If you want
MakerWorld · ralf.hoerhager
MakerWorld · RuiRaptor
MakerOnline
Printables · EmGi
MakerOnline · Fulop Huba
MakerOnline
Printables · Gimme Ya Model
MakerOnline · KailSouless
Cookies a měření. Nezbytné cookies jsou vždy; měření návštěvnosti a reklamy jen s vaším souhlasem. Víc o cookies