Printables.com
Modular Organizer Drawers
🏭 100+ tiskáren
·
across Czechia
·
⏱ pay after printer accepts
Model author: Andre Campos
·
original on Printables.com
Description
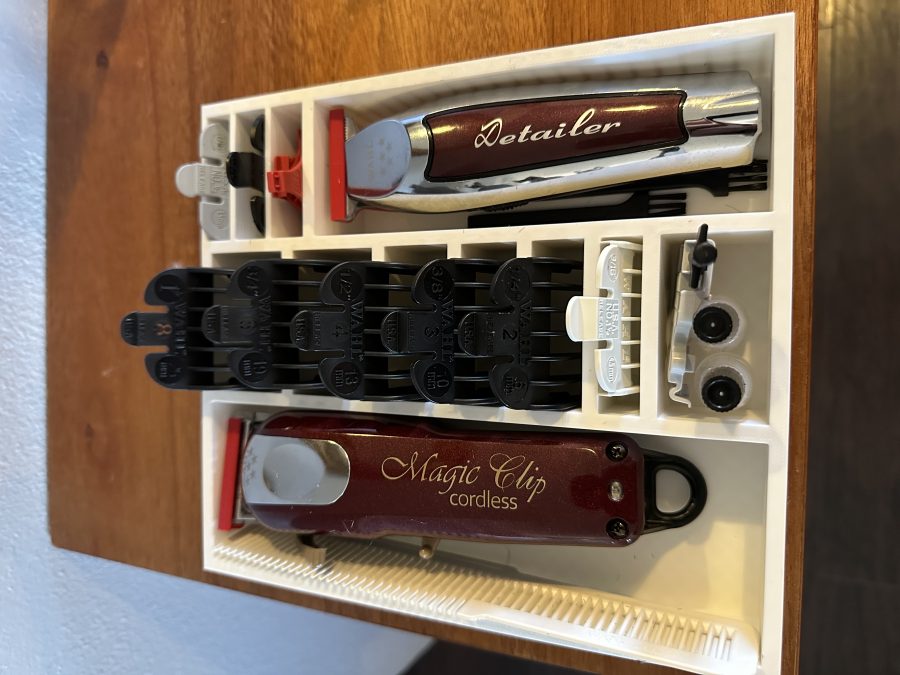
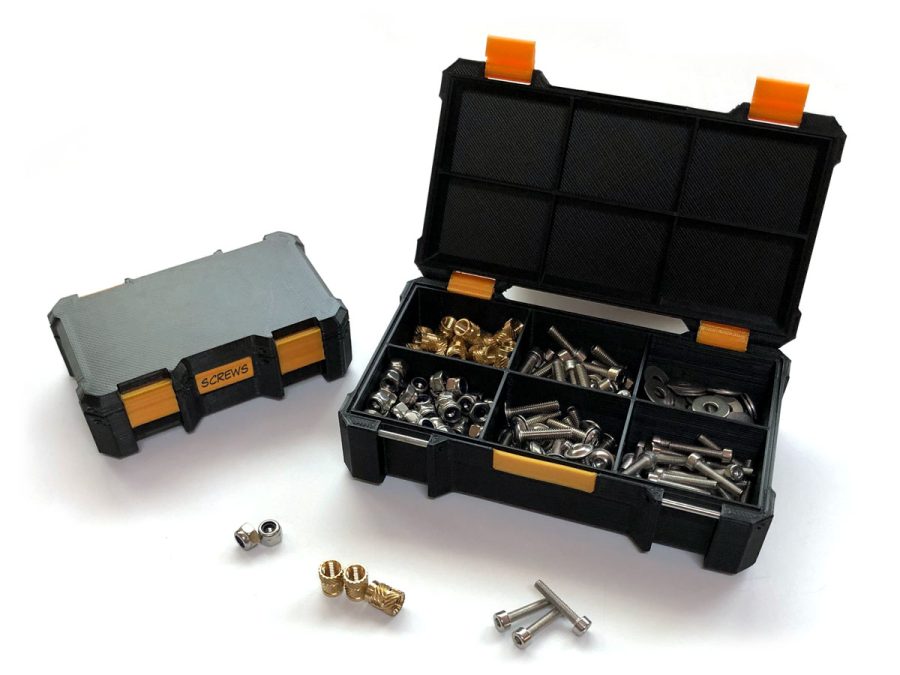
After browsing over several modular drawer or small compartments projects, and even started to print a highly rated one, I realized that they were not ideal for my primary use case that was to store various types of small screw, nuts and other components that I use in my 3D prints.
I created this one with shallow drawers with multiple bin size options so it can adapt to the type of items you wish to store in each one.
The module consists of an outer shell with connection points on each corner, 3 different types of connectors for central, corner and lateral faces of the stack, as well as 4 different internally layouts for the drawers that you stack horizontally and vertically to better fit the space you have.
Print instructions
External Shell
Should be printed perpendicular to the printing bead, just make sure that the back part with a small lip is facing down, no support material needed.
Drawers
Print them with the bottom on the print bead. Since all the walls are thin, with 2 perimeters, there is no need to for infill. Due to the small overhang on the spherical handle, I added support materials to ensure a good finish, it might still work without support, but I haven't tried printing without them.
Connectors
Print them so they are standing up on the print bead, no support material nor infill needed. Ensure that the flat end is facing down. To make the print more stable I made the connectors have half the length of the box, so you need to print 2 of them for each connection. I strongly suggest adding a skirt to this print to avoid having failed prints, I went for batches of 8-10 at a time, and with a 4mm brim all the parts became connected improving bead adhesion with no filed prints, definitively worth the additional 5 minutes for each batch.
Similar models


from 470 Kč