Printables.com
Gothic Lithophane Light
🏭 100+ tiskáren
·
across Czechia
·
⏱ pay after printer accepts
Model author: 3D Printing World
·
original on Printables.com
Description
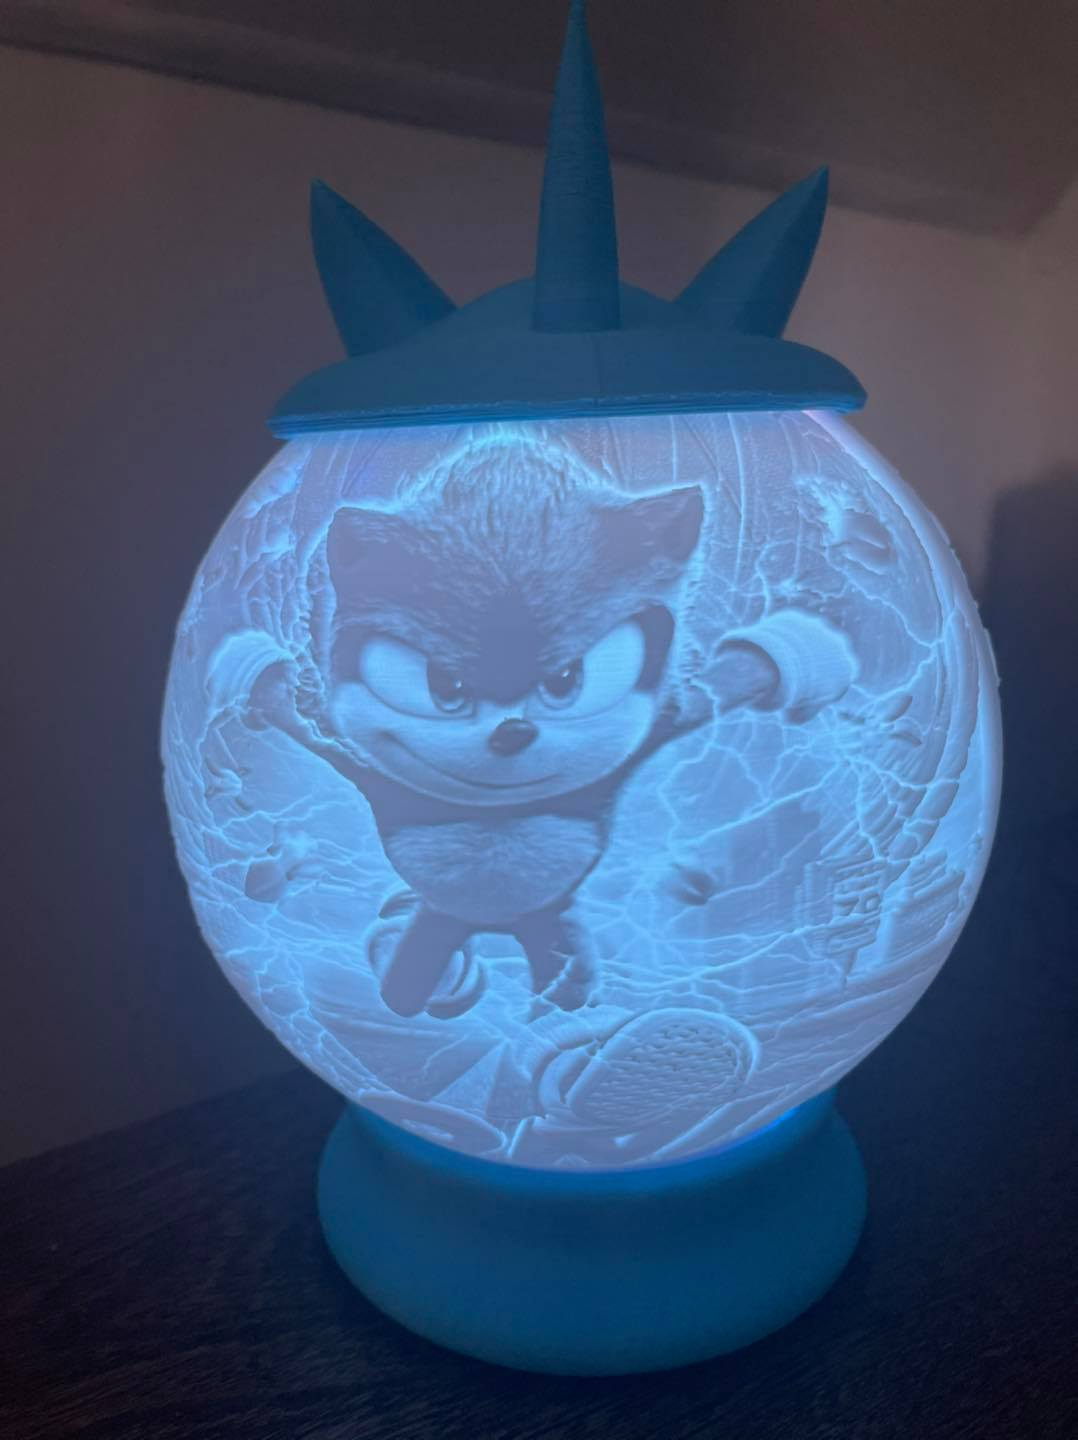
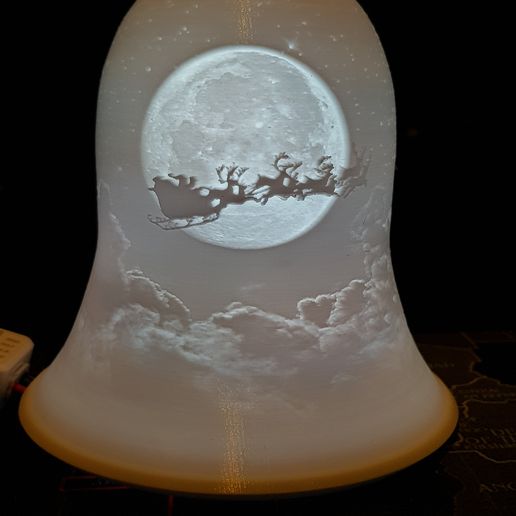
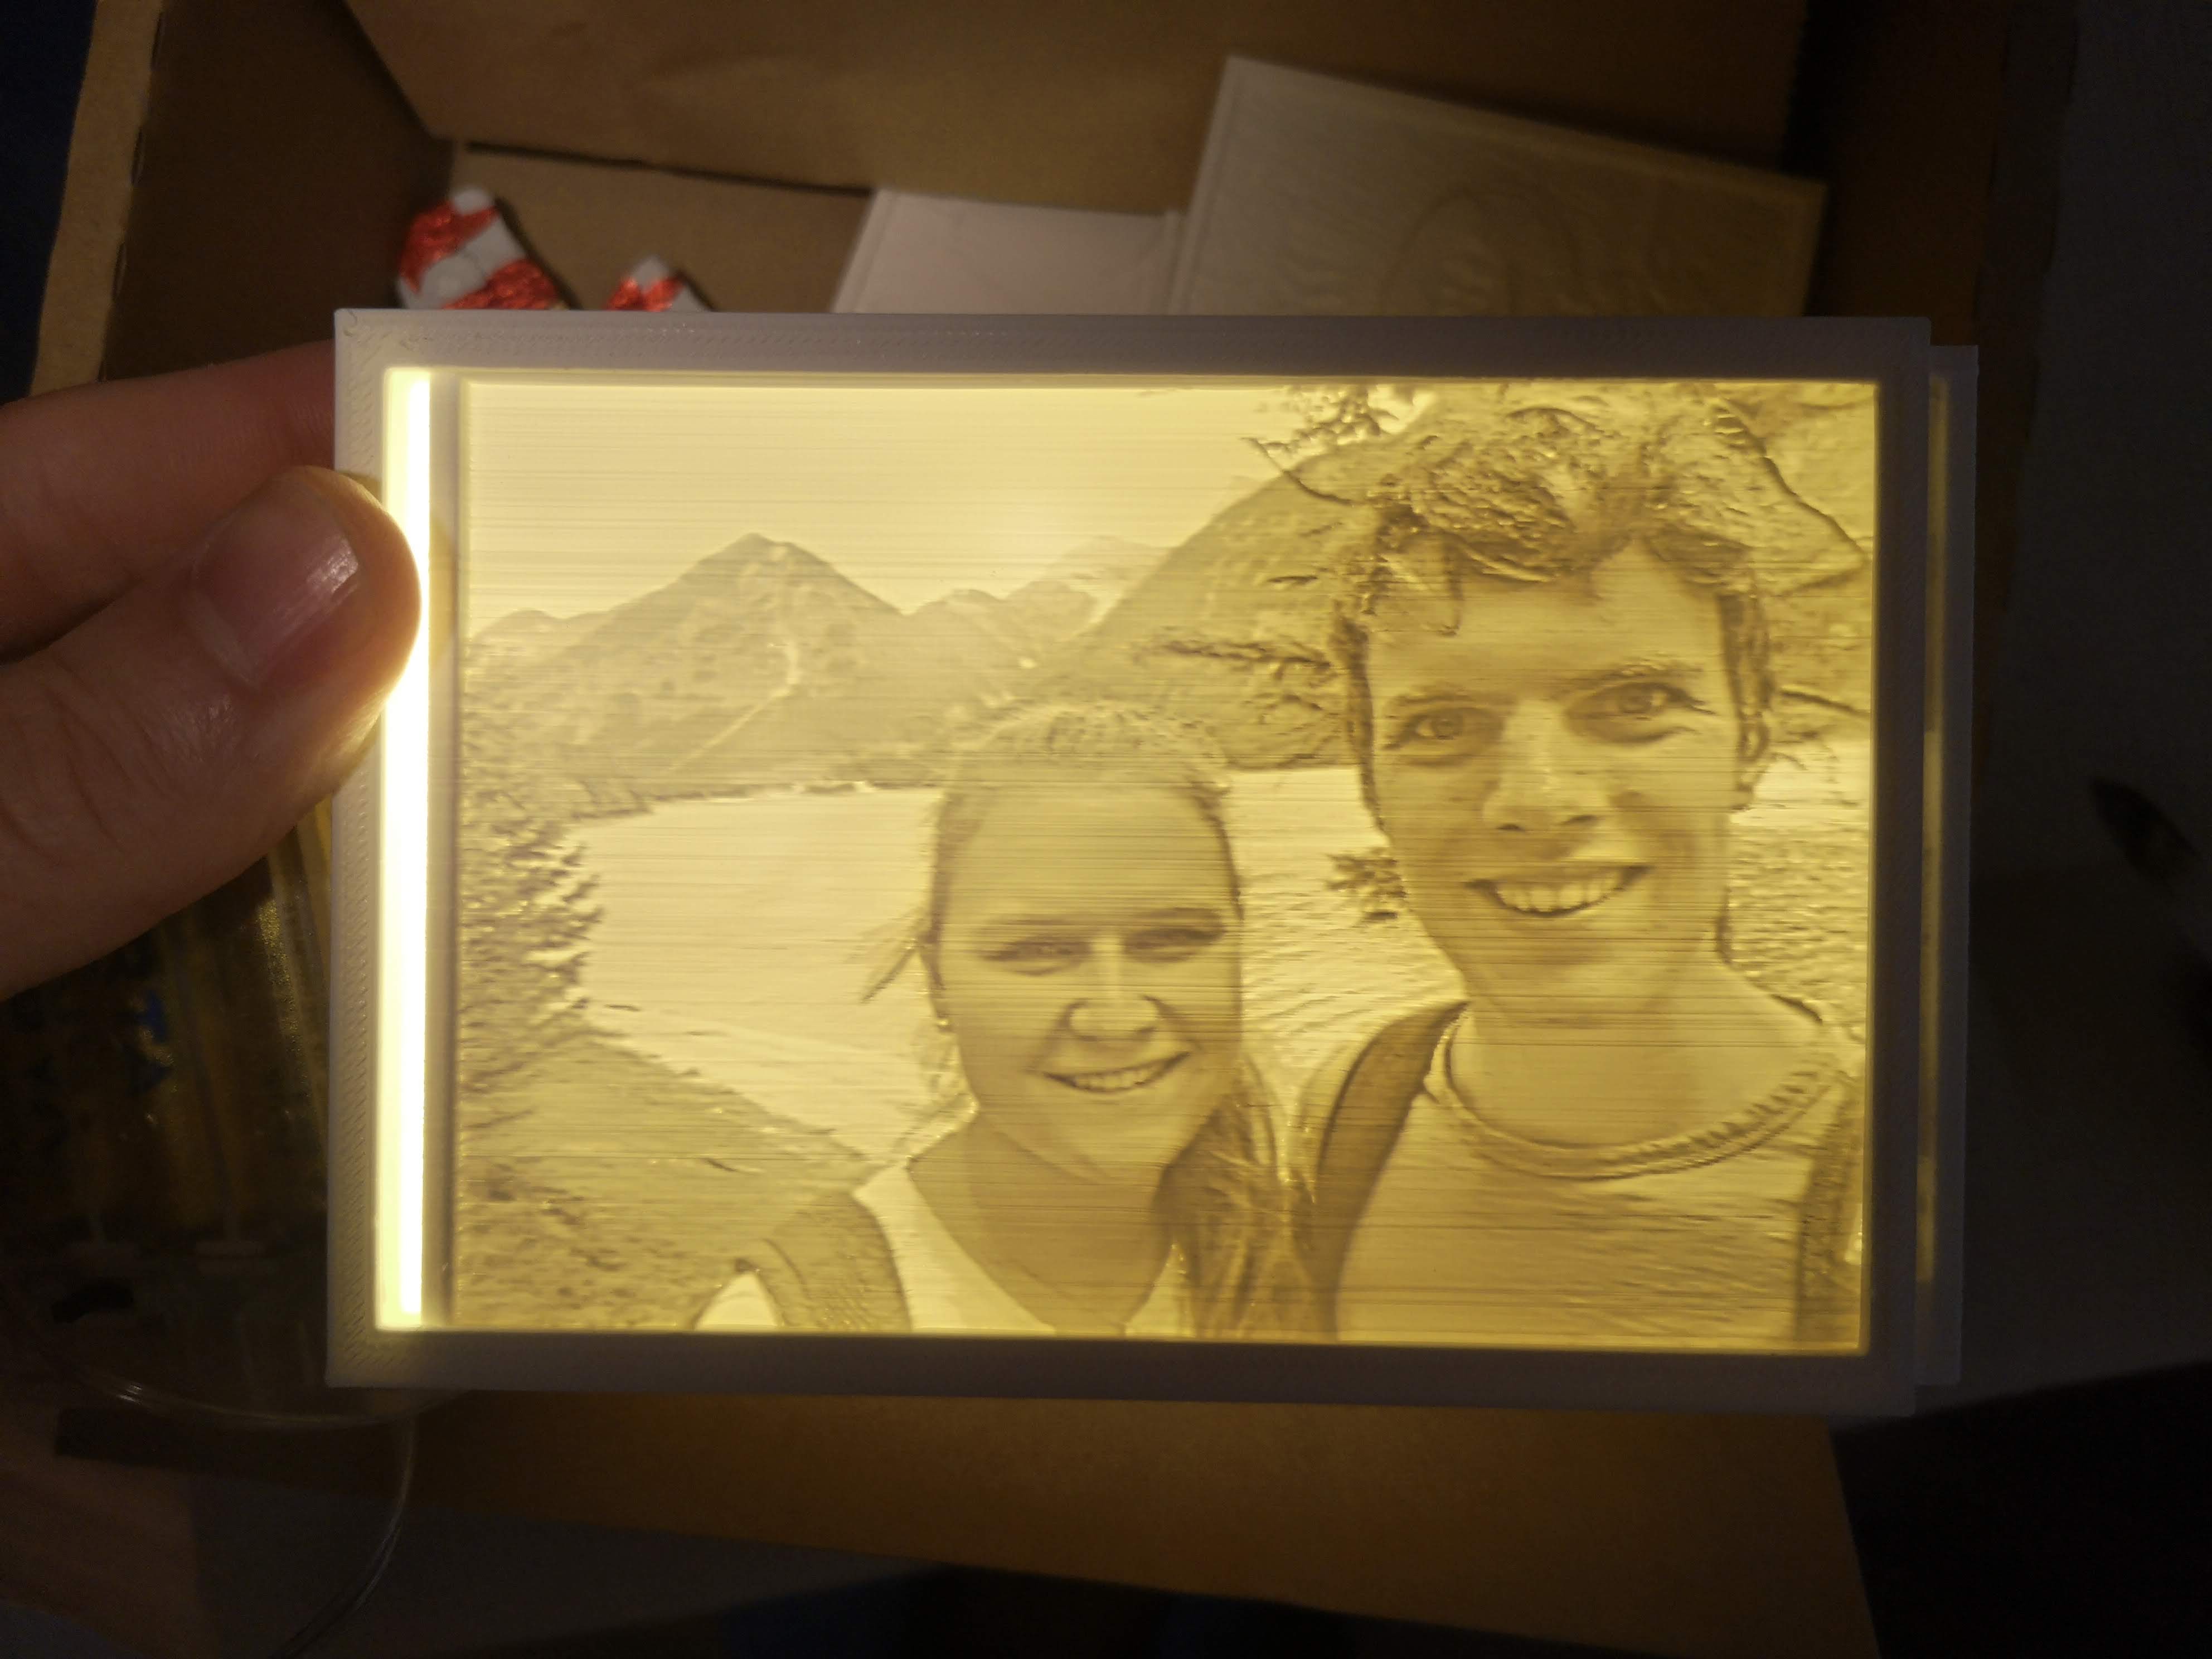
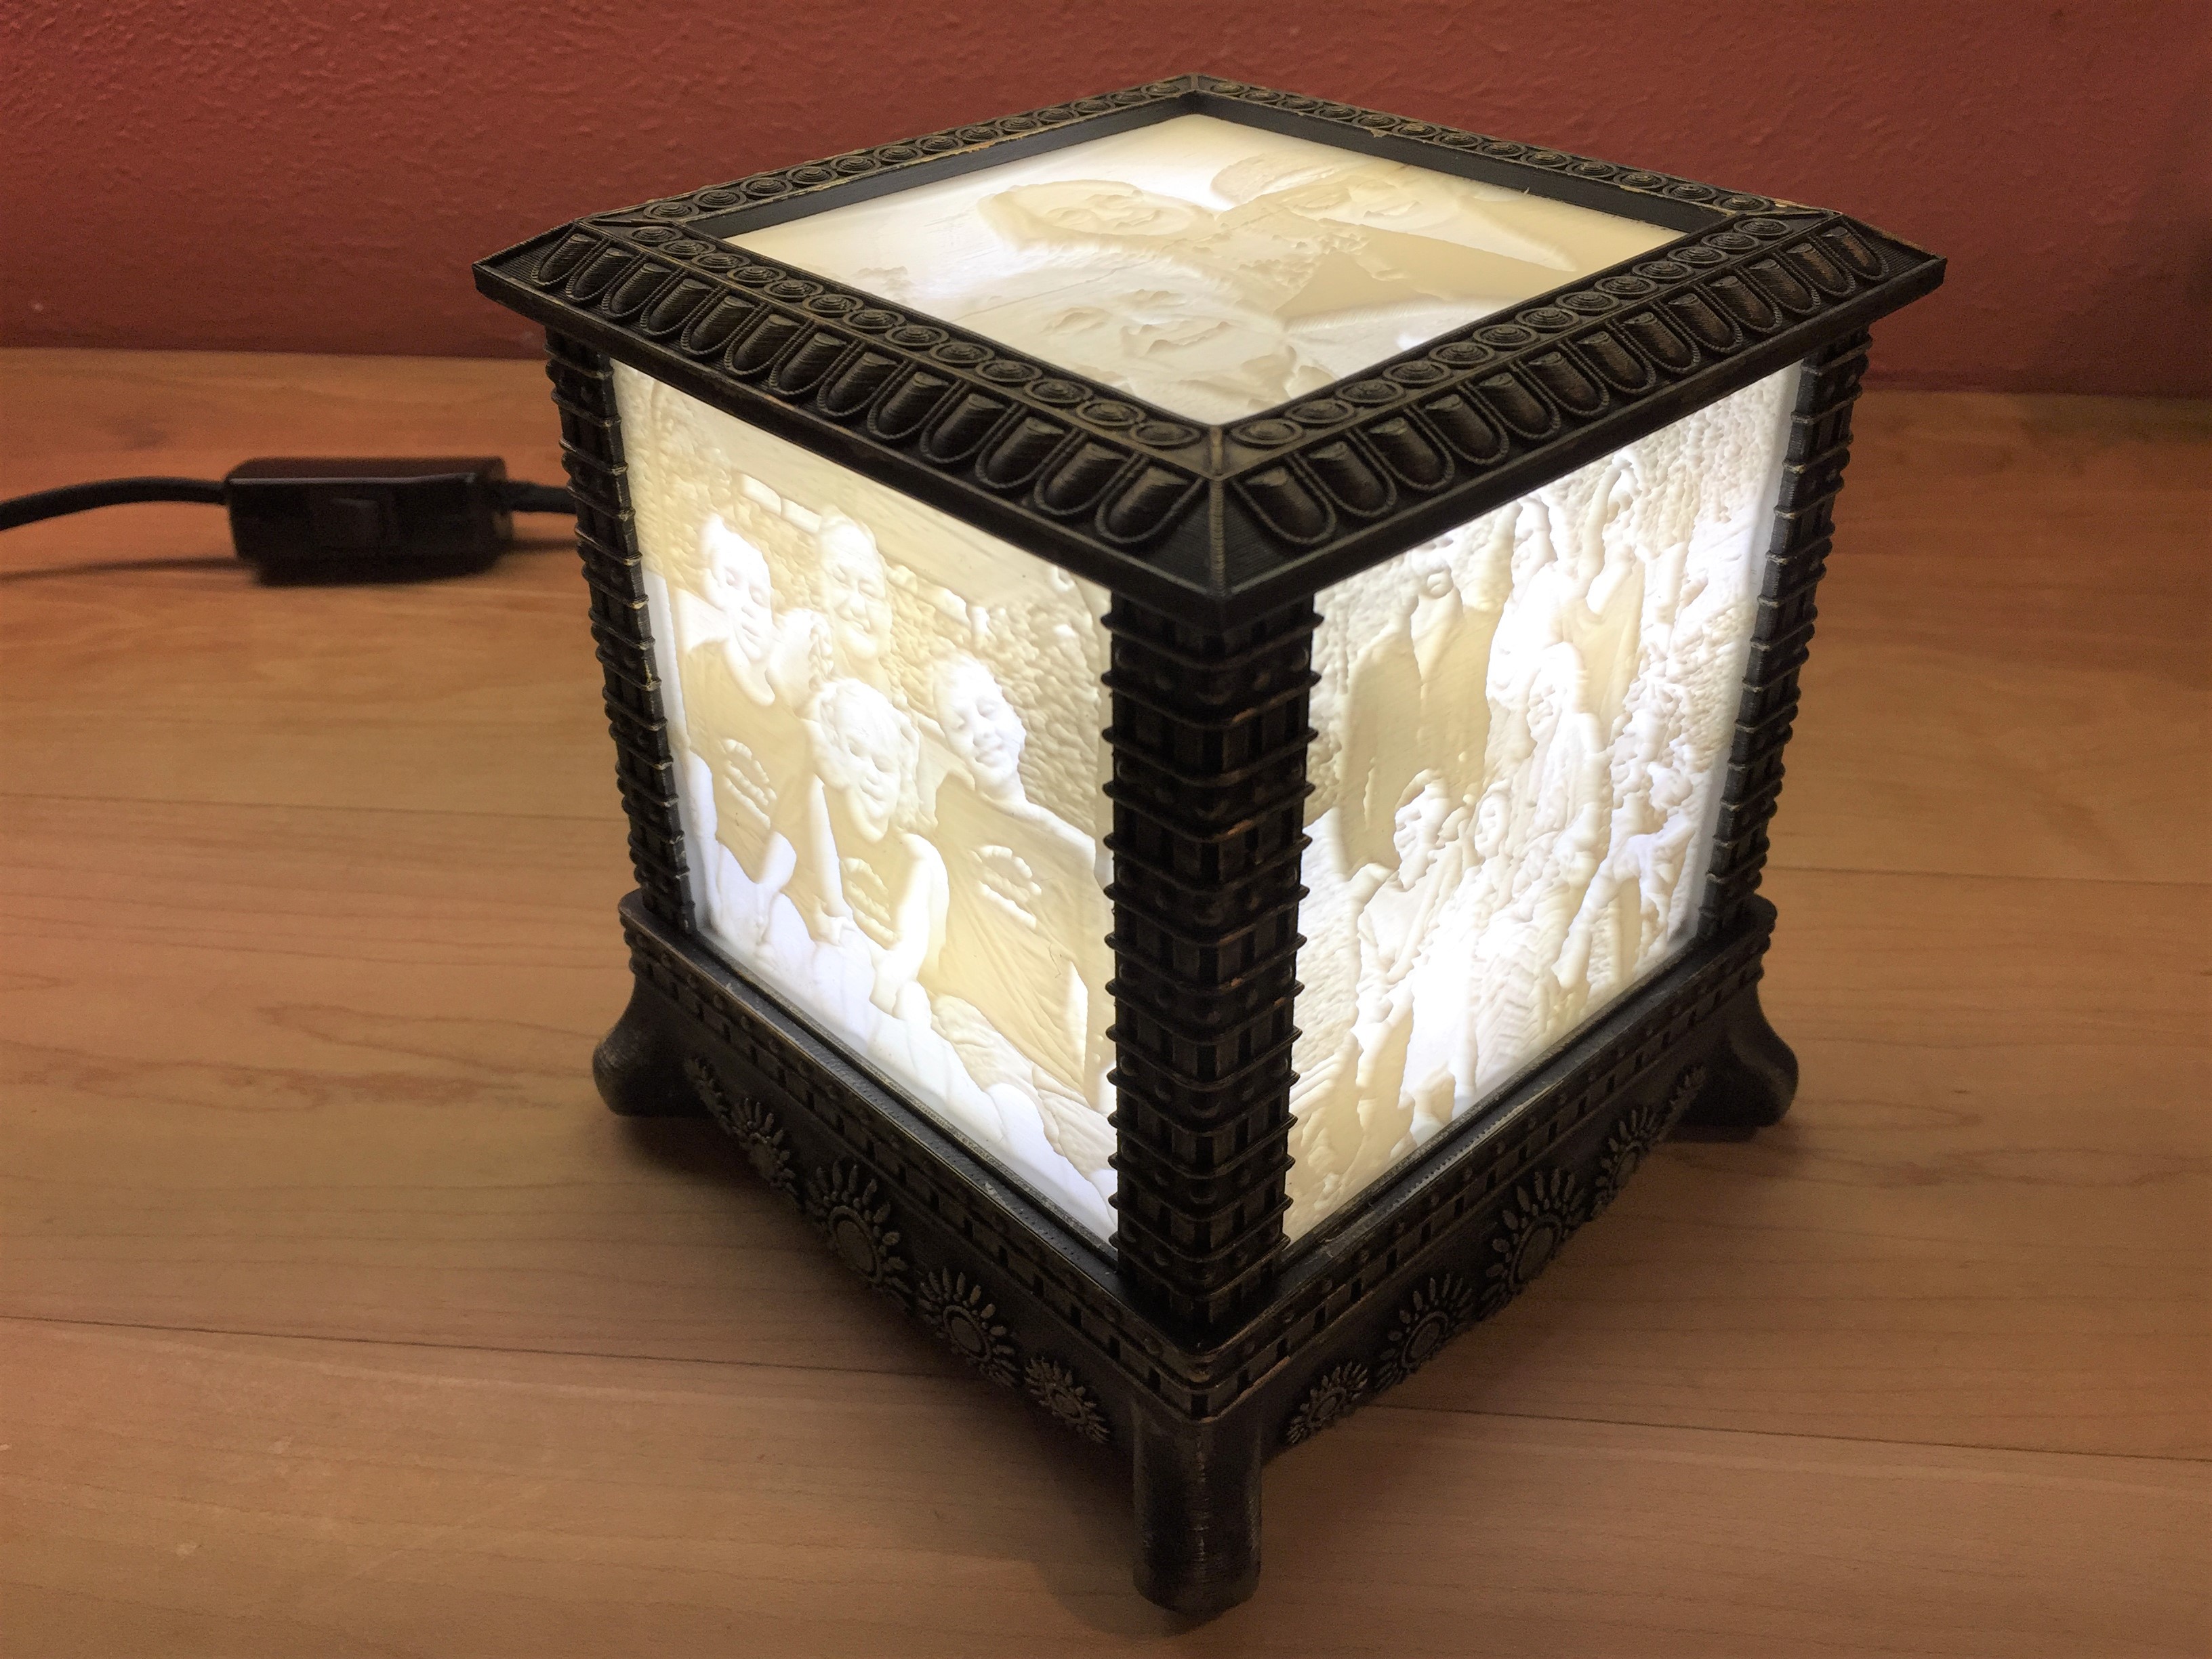
Gothic Lithophane Lamp
I wanted to make my Mom a Litophane lamp for Christmas so I looked on thingiverse but none of them were just right so I design my own. I decided to go with a Gothic style design, something really easy to use the dry brush technique on. I designed this version to use components that can easily be purchased from Amazon. I have listed the required parts below and have provide detailed instructions on how to make your own custom Lithophane panels In the video.
Print Instructions
Unassociated tags: lithophane box, Lithophane lamp, lithophane lantern
Category: Decor
Print Instructions
See the settings video for the instructions and settings required to make your own custom lithophane panels for this frame. Supports are not required for the base and the clamp but the top does require support for the center overhang.
Paint
I will create a video shortly highlighting how I painted and assembled it in more detail. You can subscribe to my youtube channel if you would like to receive a notification when it comes out. There are so much detail on the model to help hide the layer lines that I do not find it necessary to do any sanding. I did spray the frame first with a flat black Rustoleum because black filament is too shinny. After that I used the dry brush technique to add highlights to the high parts using metallic gold acrylic paint.
Assembly
After you have all the parts printed install the heat set thread inserts into the frame first. These will hold the bulb socket and the stain relief for the cord. One insert is used to hold the socket and two are used for the cord grip. The thread inserts are installed with a soldering iron and the tip linked below. You can get away with a standard cone shape soldering tip as well but the custom tips make it a little easier to get the insert in the hole straight.
You can use a regular plastic cord but I think the rayon cloth covered cord looks a lot nicer. If you are installing the inline switch as well put two rings of superglue around the cord where you are going to slice it to keep the cloth from fraying. This works really good, otherwise its really hard to keep the cloth from fraying.
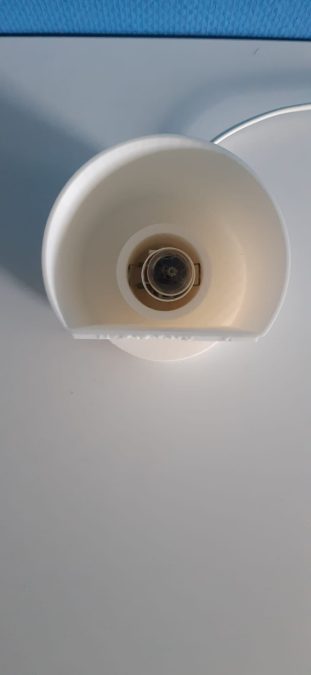
To install the bulb socket first remove the #6 screw and bracket that comes with the socket, you won't be using these. You can also cut the leads at this time as they only need to be 2-3" long. Use a M3 x 10mm long socket head cap screw to hold the socket into the center base of the frame. Next thread the cord through the hole in the frame and clamp it down using the 3D printed clamp and two M3 x 10mm socket head cap screws. Next connect the cord wires to the socket leads using two wire nuts.
Lastly screw in the led bulb and slide in the panels and your light should be all ready to turn on!
Here is a tip for installing the thread inserts.
Filament
I used the filament below because its really cheap but I still have good results.
Lithophane's
• Solutech White PLA
Frame
• Inland Black PLA
Components
Everything you need can be found on Amazon. Please help to support future projects like this by using my affiliate links below.
• Intermediate LED bulb https://amzn.to/2Cd85dR
• Intermediate Porcelain Socket Base https://amzn.to/2RFjkpa
• Rayon Covered Cord https://amzn.to/2VGtSDz
• Inline Cord Switch https://amzn.to/2RBLGAL
• M3 Heat Set Thread Inserts https://www.dddprintingworld.com/products/mini-m3-heat-set-thread-inserts
• Heat Set Install Tip https://amzn.to/2FlXl01
• M3 X 10 Socket Head Cap Screws (3x)
Settings Video:
Similar models