Printables.com
Drybox | Cheap Filament Storage Box | Polydryer Compatible Dry Box
🏭 100+ tiskáren
·
across Czechia
·
⏱ pay after printer accepts
Model author: Extrutim
·
original on Printables.com
Description
I wanted a Drybox that is as affordable as possible without compromising on features!
There are already many designs out there that use the well-known cereal box as a basis, but none of them met all my criteria. I wanted to change that.
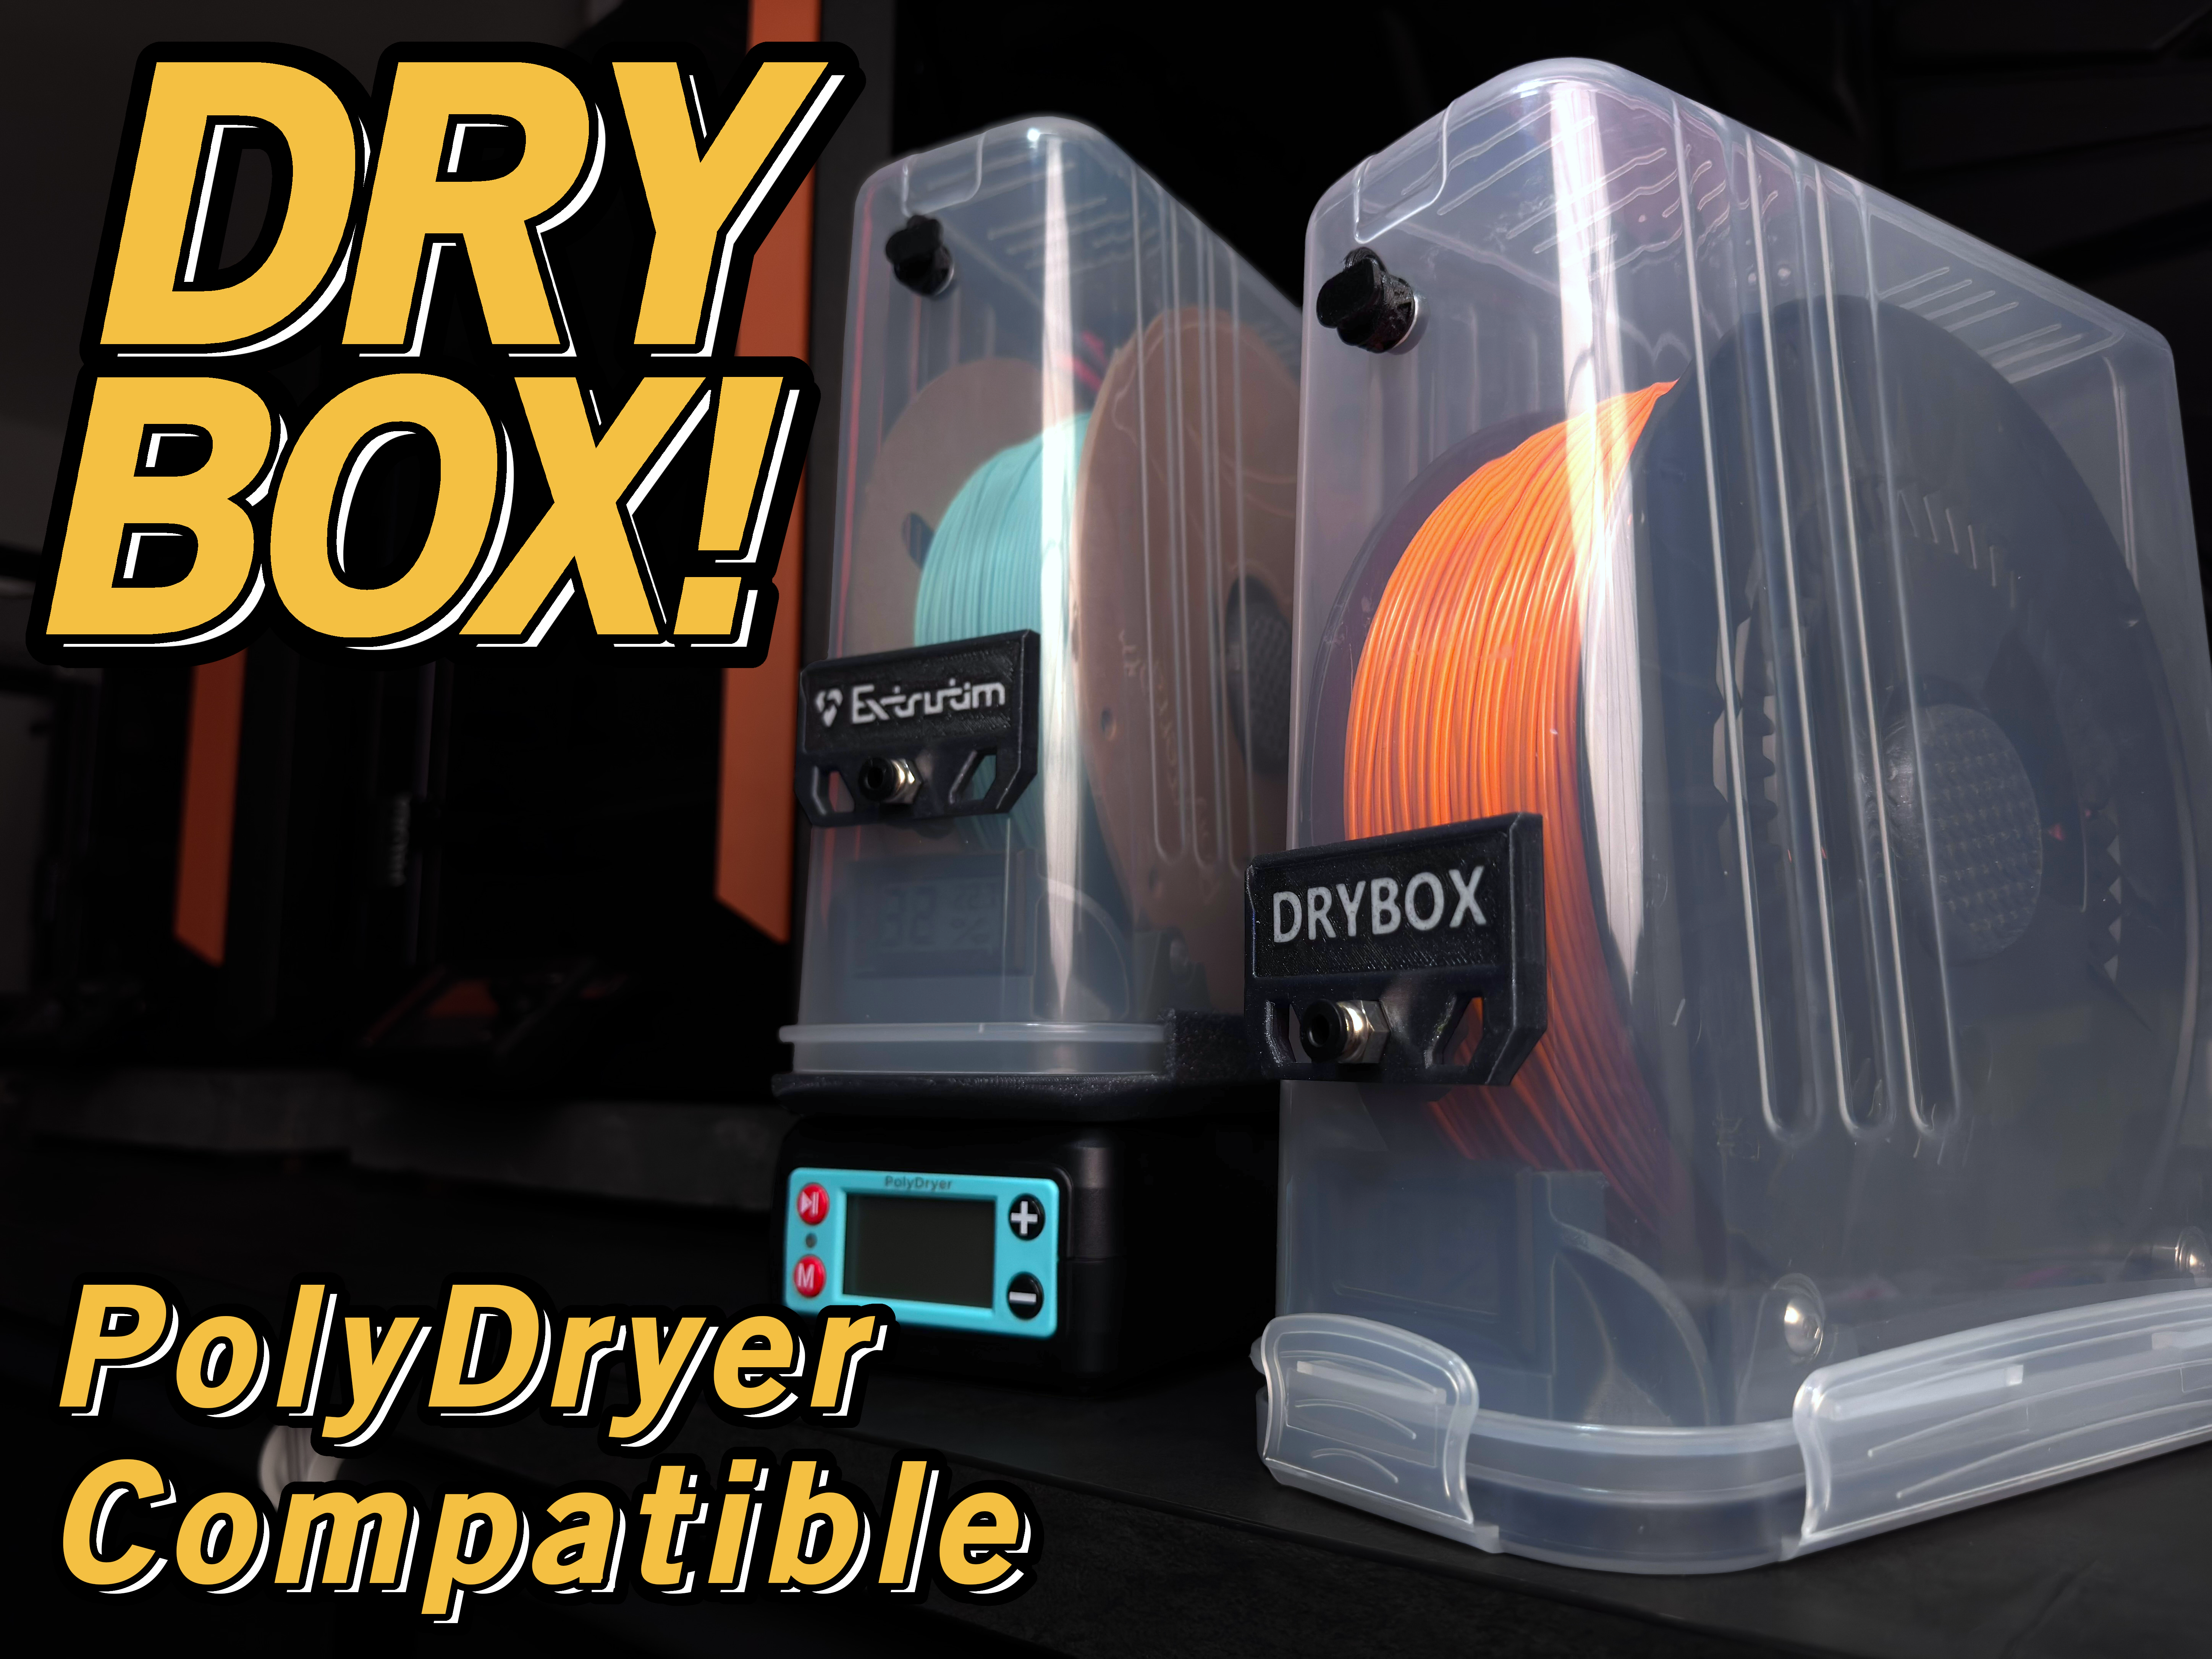
The dry box is compatible with the Polydryer from Polymaker using an adapter, but if you don't have this filament dryer, it doesn't matter, as no additional parts are used except for the external adapter.
Features:
•
Low material consumption, only ~90g of filament
•
Affordable, around €10 per box
•
Replaceable, customizable labels
•
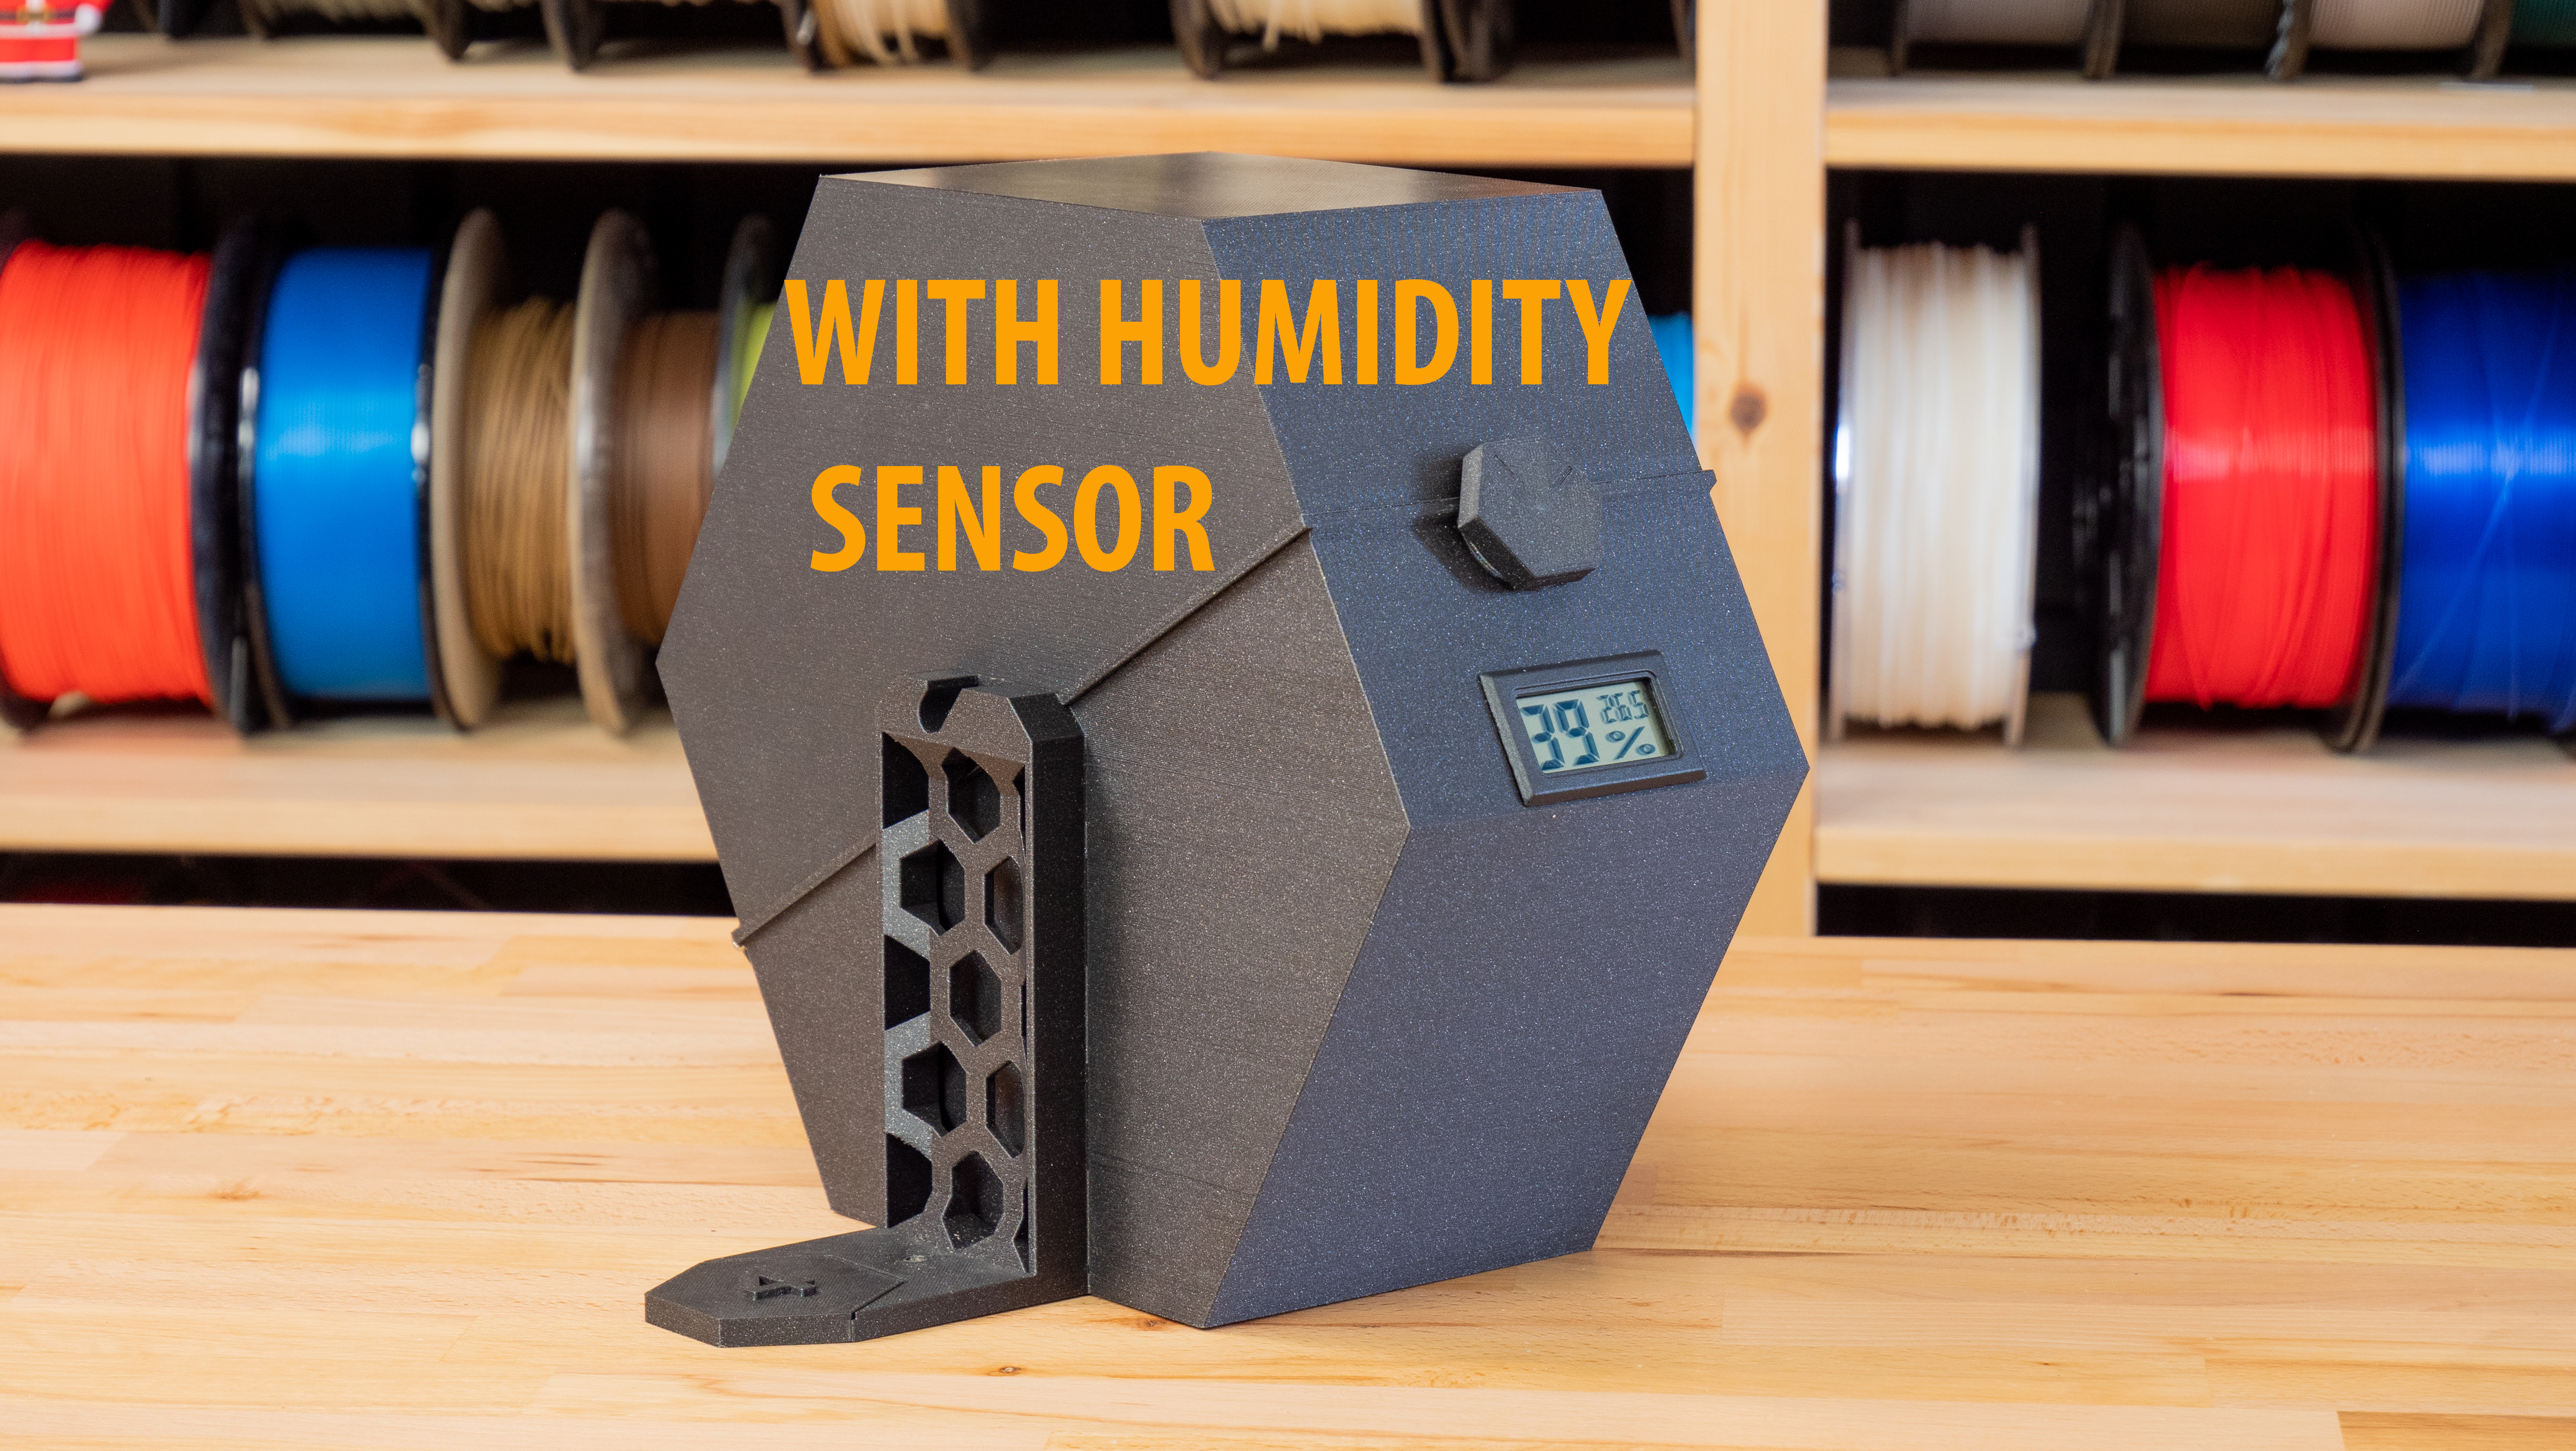
Hygrometer
•
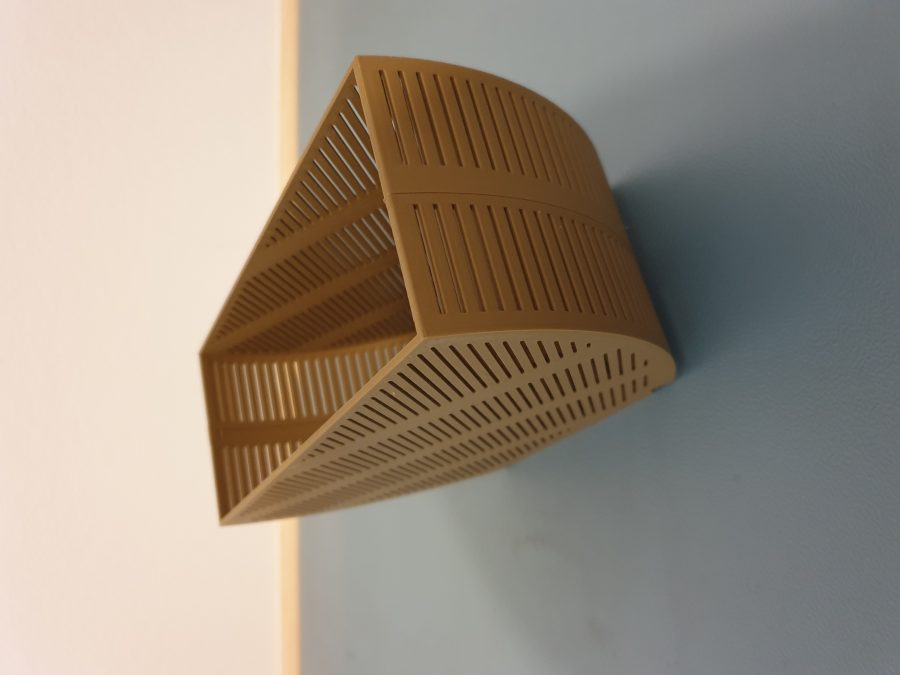
Ball bearings for spool guidance
•
Also suitable for spools up to 70mm wide
•
Compatible with Polydryer without modifications to the box
•
Plenty of space for silica gel beads, primary container + optional secondary container
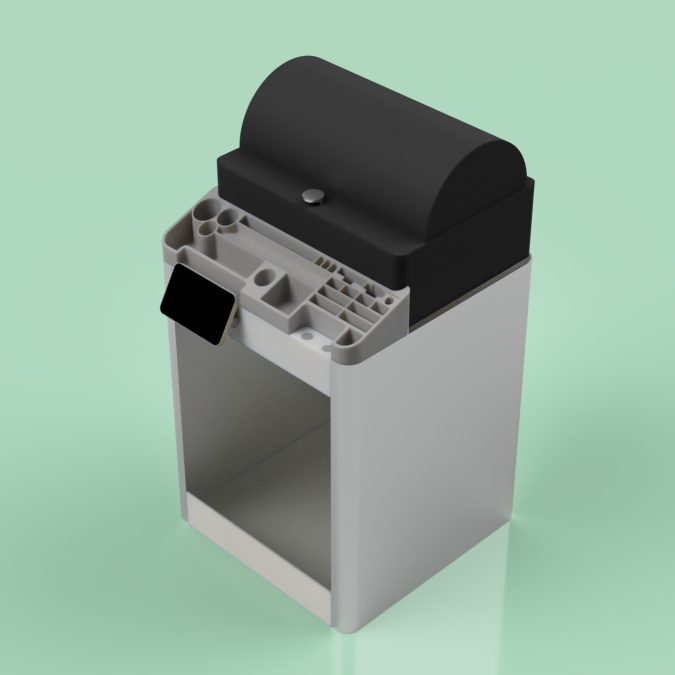
The box is made of PP, a material that does not allow moisture to pass through and is therefore ideal for a dry box. Only 1-2 10mm holes are drilled for the PTFE tube (depending on whether you want 2 couplings for an alternative filament guide or to store the tube after unloading it from the printer).
Instead of making the box itself compatible with the Polydryer by adding major features, I made a separate adapter. You open the lid and lift the base off the lid using the handles on the right and left of the hygrometer, then slide everything onto the adapter.
What you need:
•
4x ball bearing 5x16x5 (625zz / 625-2RS)
•
4x screw M5x16-20mm (button, pan, or round head)
•
1x hygrometer (this standard rectangular one)
•
1-2x PC4-M10 pneumatic coupling
•
1x food storage container 4L (note the two variants in the image. The variant with 3 side grooves can accommodate wider spools)
•
~90g filament (PETG/PCTG recommended) +130g for Polydryer adapter and drilling jig
•
~20g Flex filament shore 82a or softer (only for printed coupling or sealing cap for pneumatic coupling)
•
4mm PTFE tubing (2.5mm inner diameter recommended)
•
10mm drill bit (step drill bit recommended)
•
Silica gel beads
If you want to learn more about the box and how it is assembled, feel free to check out my video on YouTube!
Assembly:
Print the parts from PETG, PCTG, or similar filaments that don't have any issues with material creep (screw connections can loosen over time). These filaments can also withstand higher temperatures.
You can print the labels in white and write on them yourself, or add text in the slicer and print in multi-colour.
If, like me, you are using a self-printed PTFE coupling or the sealing cap for the PC4-M10 coupling, print these from Shore 82A or softer.
The small tab on the flap of the lid must be removed. The easiest way to do this is to score it with a utility knife and then break it off. The deeper you score it, the easier it will be to break off.
(Caution! Do this carefully, never cut towards your body, make sure you don't slip, and ensure that there are no other body parts in the direction you are applying force. Watch this part of my video to see how to do it correctly!)
Attach the bearings to the axles with the screws (note: place one printed washer between the bearing and the axle on one side of the axle) and clip them into the base.
Use the drilling jig to mark the holes for the couplings.
Ideally, drill the holes with a step drill bit to ensure they are perfectly round, then screw a coupling together with the label holder and the counterpart on the inside.
You can press the self-printed coupling into the hole more easily with a small screwdriver.
Finally, clip in the hygrometer, place the silica container in the rear, cut a piece of PTFE tubing to size, and you're done!
Update:
It appears that there is now a version of the box that is 1 cm longer than usual. According to comments, however, this seems to only affect the adapter for the Polydryer.
I have therefore uploaded a second version that is 10 mm longer, in addition to the standard version (approx. 230 mm long inside). Before you print the adapter, you should therefore measure the length of your boxes.
I’ve also added a few grooves to create additional openings that allow moist air to escape more easily during drying, and I’ve uploaded both adapters as split versions in case your maximum print height isn’t sufficient.
Similar models
from 170 Kč