
Printables.com
DIY Filament Dry Box (Simple + Cheap)
🏭 100+ tiskáren
·
po celé ČR
·
⏱ nabídky do 24 h
Autor modelu: LimaJuliett
·
originál na Printables.com
Popis
Edit 2023-09-15: Removed PC4-M6-Extruder-Mount because I realized it's completely unnecessary (lol). The PTFE tube from the box rests against the extruder, which works just fine.
Edit 2025-05-14: Updated recommendation for clear silica as orange does not indicate early enough. Added more information on hygrometers, including weighing desiccant to determine weight, and desiccant drying.
Outline
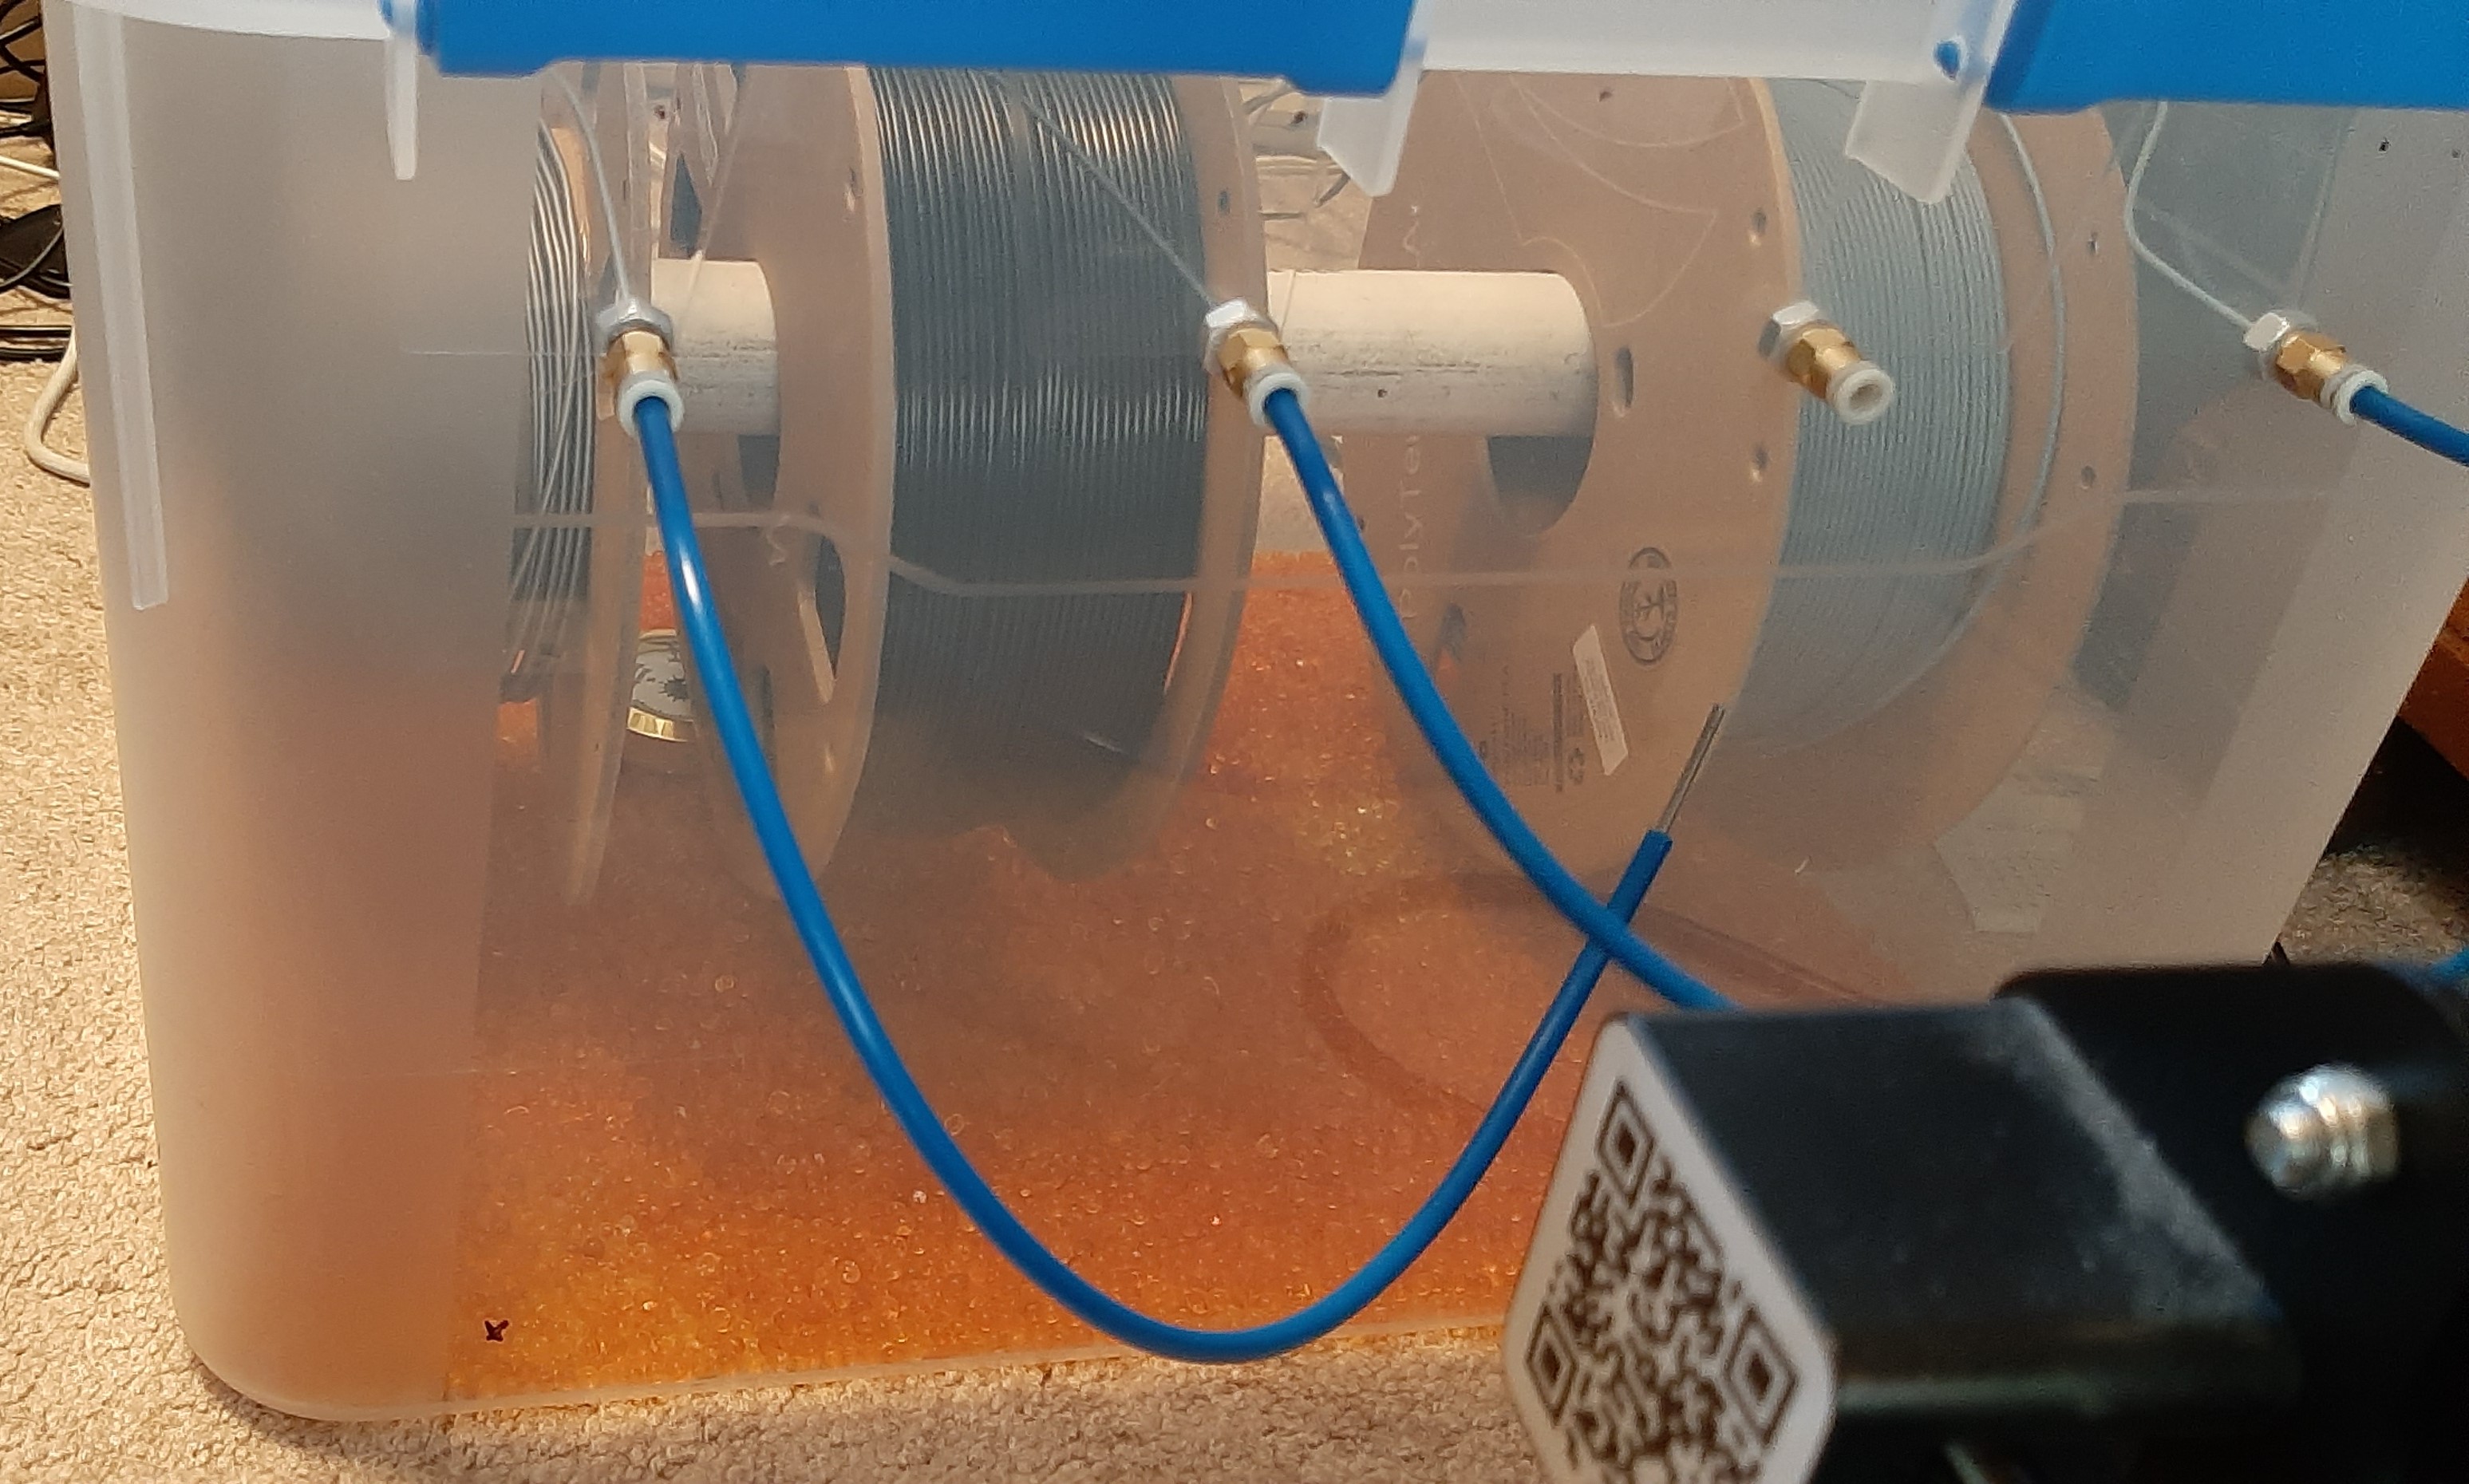
I wanted a way to store my filament in a dry environment and print directly from storage without constantly having to move spools around. I couldn't find one for a reasonable price, so I built one.
This design can store and dispense 4 spools of filament at once, keeping them all in <20% humidity (if my cheap hygrometer is to be believed). Switching filaments takes an extra 30 seconds, but it's worth it to keep my filament dry.
I ended up spending about $40 on this project (for context, that's about the same as a cheap Amazon filament dryer that only holds a single spool). Depending on what you have laying around, this may be a little more (total cost of materials is about $50) or significantly less. I chose an IP67-rated box, which is probably overkill. You also don't have to buy a hygrometer if you use indicating silica gel.
Here are some similar designs you may want to check out:
https://www.printables.com/model/858-6-spool-filament-dry-box-storage-system-with-bowde
https://www.printables.com/model/268604-husky-ip65-moisture-proof-4-spool-filament-dry-box
Both are more expensive/complicated than this design but have certain benefits and are definitely worth a look.
This also works with bearing-mounted spool rollers, my take on which is here.
Assembly
Bill of Materials
ItemQuantityCostLink
Box1$16Link
PVC Pipe (o.d. about 1 ¼ inches)18 inches$5
M4x8 or M4x12 Bolts12
M4 Nuts16 to 17
PTFE Tube80cm to 100cm$12Link
PC4-M6 Pneumatic Fittings4 to 5
Silica Gel Desiccant Beads (Recommend clear, orange okay, NOT Blue)1 lb$12Link
Hygrometer1$7Link
3D Printed Parts4 to 5N/AN/A
The quantity of pneumatic fittings and 3D printed parts depends on whether or not you are making the PTFE tube attachment for the printer side.
Do NOT buy blue silica gel desiccant beads. They contain cobalt chloride which has been banned by the EU for its toxicity. It is still available in the U.S., but orange silica gel is considered safer. (Still can't eat it, though.) In mine and others' experience the orange indicating beads do not change color until the humidity is quite high. Recommend clear beads as they carry less health concerns and perform equivalently.
You can get reasonably accurate hygrometers for quite cheap. Digital and analog are available; both should be calibrated! I used an analog hygrometer because I could get one for slightly cheaper and I'm bad at remembering to change batteries.
(To calibrate a hygrometer, place it in an atmosphere with known humidity for about 24 hours and adjust to match known humidity. If you have a hygrometer you trust you can use that as a data source. Otherwise, a sealed container with a small amount of table salt and water mixed together to form a slurry will create an atmosphere with a humidity of about 75%.)
Assembly Instructions
Mounting spools in the box:
• 3D print 2 inner rings and 2 outer rings.
• Procure a box and decide where to position your PVC pipe in the box. I put mine slightly above the vertical center, but centered horizontally and level.
• Cut the pipe to length (remember you can always make it shorter but it's hard to make it longer again) and mark where the ends of the pipe should be on the box.
• On each end:
• Using the outer ring as a template, mark where each bolt hole will go.
• Drill out each hole, being careful not to crack the plastic. Use light pressure and low to medium speed, and use pilot holes. The tighter the fitment of the bolt in the hole, the less air will leak through but the harder it will be to get each hole in the right spot. (You can always make the hole bigger, but it's hard to make it smaller again.)
• Position the outer ring on the outside of the box and slide a bolt through each hole.
• Put the inner ring on the inside, putting the bolts through the holes.
• Thread a nut on each bolt to hold everything in place, then tighten the bolts from the outside. Make sure the nuts recess into their pockets in the inner ring. These should be snug but not crazy tight as we don't want to crack the plastic.
• Put a spool of filament on the PVC pipe and put it in the box, using the inner rings to support the pipe.
Adding pneumatic fittings for PTFE tubes:
• Position the spool where you want the first spool to sit (remember there will be 4 spools in total and they all need a spot).
• Pull some filament off the spool and run it to the wall of the box. Be sure the filament is perpendicular to the side of the box so it will slide freely into the PTFE tube.
• Mark where the filament hits the wall of the box
Podobné modely


od 360 Kč