Printables.com
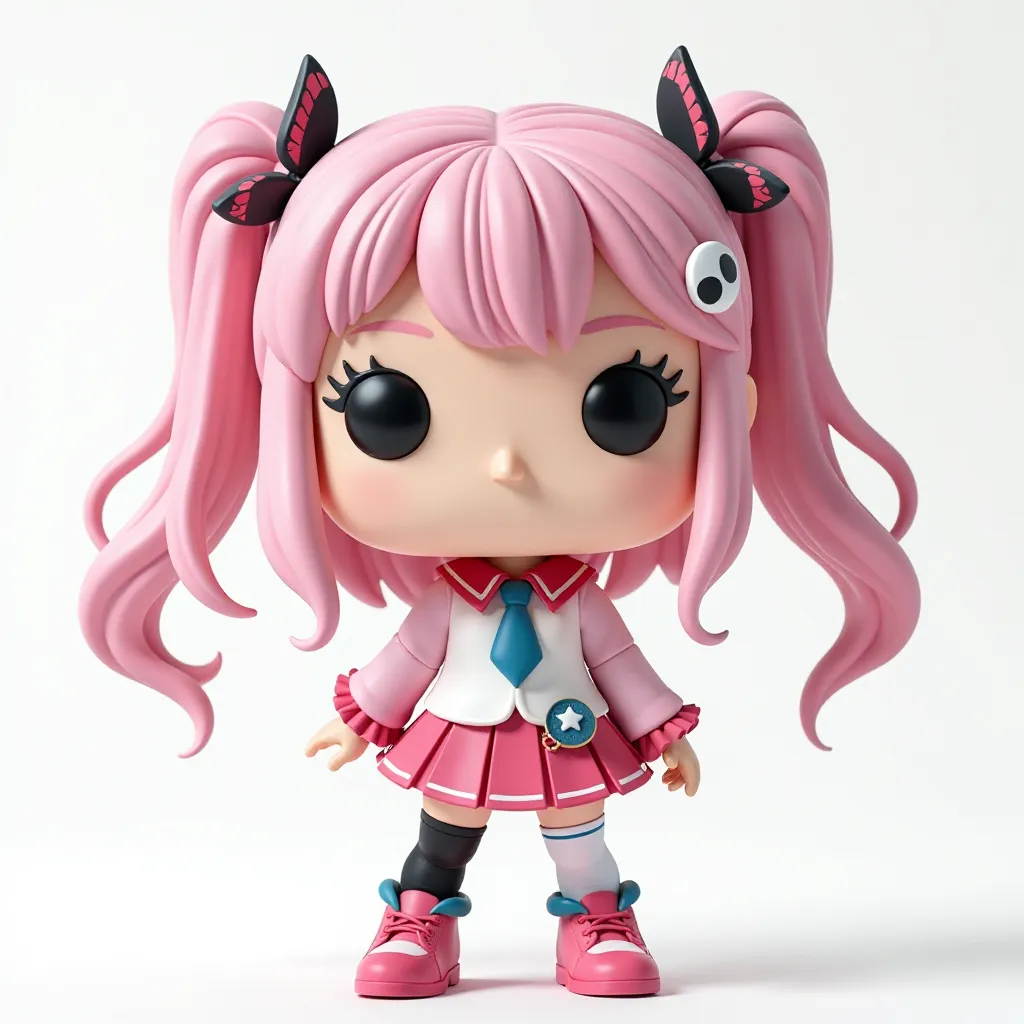
Cute Anime-Style Chibi Girl 3D Model for 3D Printing – Kawaii Collectible Figurine with Pink Hair and Pigtails – DIY Funko Pop-Inspired Desktop Toy
🏭 100+ tiskáren
·
po celé ČR
·
⏱ platba po přijetí tiskárnou
Autor modelu: Brave 3D
·
originál na Printables.com
Popis
3D Printing Guide for Cute Anime-Style Chibi Girl Model (Optimal Settings & Tips)This guide will help you achieve the best quality when printing the Anime-Style Chibi Girl 3D model. Since this is a detailed, decorative model, following these tips will ensure smooth surfaces, crisp details, and minimal post-processing.Recommended Print Settings:✅ Layer Height (Resolution):0.1mm to 0.12mm for high detail and smoother surfaces.For faster prints, you can go up to 0.16mm, but details like hair strands and facial features may lose sharpness.Avoid 0.2mm or higher layer heights, as the print will look blocky and require significant post-processing.✅ Wall Thickness:1.2mm to 1.6mm for strong, detailed prints.Use 3 perimeters (walls) to ensure durability, especially for fragile parts like pigtails, arms, or accessories.✅ Infill Density:10-15% infill is sufficient for decorative prints.Use a Gyroid or Grid infill for strength without increasing print time.✅ Print Speed:30-50 mm/s is the optimal range to balance quality and print time.Slower speeds (30 mm/s) will give better results for detailed areas like the hair and face.✅ Support Settings:Supports are essential for overhangs, particularly under the hair, arms, and accessories like ribbons.Use tree supports or custom supports to minimize contact points and reduce post-processing work.Support overhang angle: 50°-55° to avoid unnecessary supports.✅ Build Plate Adhesion:Use a brim if the model has small contact points with the build plate (such as small feet).Skirt can be used if adhesion isn’t a concern.Material Recommendations:MaterialProsConsPLAEasy to print, smooth finish, wide color optionsLess durable for handlingPETGStronger and more flexible than PLACan string more if not dialed inResinBest for ultra-fine detailsRequires post-curing and can be brittleFor FDM printers, PLA is the easiest to use, while resin printers will give you the best detail, especially for small features like the eyes and hair strands.Post-Processing Tips:Sanding: Start with 400-grit sandpaper for smoothing layer lines. For a smoother finish, progress to 1000-grit.Priming & Painting: Use spray primer to prepare the surface for painting. Acrylic paints work well for detailed painting.Sealing: Use a clear coat or matte varnish to protect the paint and give a professional finish.Recommended Print Orientation:Body and head: Print upright to reduce visible layer lines on the face.Hair pieces: Print separately, with supports, to avoid issues with overhangs.Accessories (like bows or ribbons): Lay them flat to reduce supports and improve surface quality.Summary of Key Settings:SettingRecommended ValueLayer Height0.1mm to 0.12mmWall Thickness1.2mm to 1.6mmInfill Density10-15%Print Speed30-50 mm/sSupportsTree/CustomAdhesionBrim or SkirtBy following these settings and tips, you’ll achieve a high-quality print that captures all the cute, anime-inspired details of the model with minimal post-processing required. Happy printing! 🎨
Podobné modely