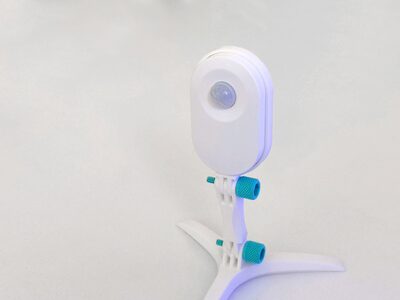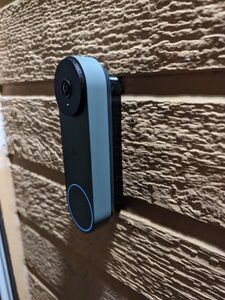
Google Nest Gen 2 Wired Doorbell Spacers (Flat & Angled)
MakerWorld · bri0nac

autor Krieger · Printables
Licence (CC BY-NC (jen nekomerčně)) dovoluje jen nekomerční použití. Stáhněte si soubor u zdroje, nahrajte ho k nám a vytiskněte na pronajaté tiskárně pro vlastní potřebu, ne na prodej.
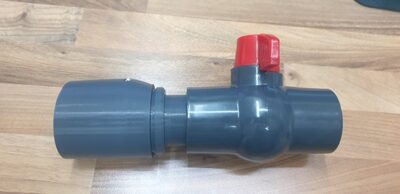
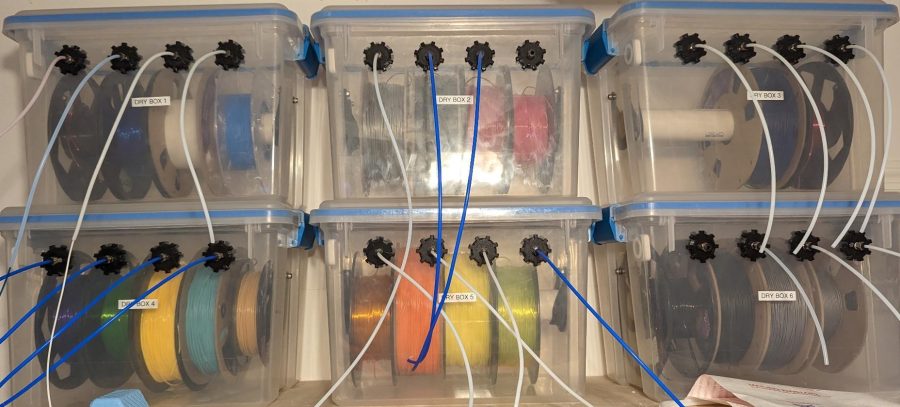
Nahrát soubor a vytisknoutUpdate 2023_11_16 • Added pdf for hole alignment. Credit to Printy Pilcrow. Update 2023_08_25 • Added “Dessicant Plate.3mf” • Added pictures of Dessicant Plate • Updated Description Summary I have spent years trying to find a filament dry box that was cheap, airtight, and holds more than 1 roll of filament. This is what I eventually ended up with. Bill Of Materials You will need: • 1.5 inch PVC • 5xM5 Screws and nuts • Propane torch • 4xM10 threaded pneumatic fittings (for bowden tubing) • 3/4 inch EMT conduit https://www.homedepot.com/p/3-4-in-x-10-ft-Electric-Metallic-Tube-EMT-Conduit-853429/100400406 • Sterilite 20 Qt. Clear Gasket Storage Box https://www.walmart.com/ip/Sterilite-20-Qt-Clear-Gasket-Storage-Box-Blue-Latches-with-Clear-Lid/39916455?athbdg=L1102&from=searchResults • Sharpie Marker • Vise Grips/Pliers • “Dry Box Mount Jig” • “Thru Hole Alignment Tool” • 2x “Dry Box PVC Mount” • 4x"M10x1 Threaded Thru Fitting" • 4x"M10x1 Threaded Nut" • Hacksaw Optional: • Aqara humidity sensor for humidity monitoring over wifi • Soldering Iron Assembly Layout The first items you will need to print are both of the jigs. The “Thru Hole Alignment Jig” goes along one of the long sides of the box. the tabs on the end should index the jig on the ribs protruding from the side of the box. Hold the jig in place firmly and draw circles with the sharper marker using the jig. There will be 4 holes. Next, use the “Dry Box Mount Jig”. This will be used on the two short sides of the container. Align the jig so the “TOP” marking on the jig is pointing towards the opening (the top) of the container. Place the jig in the indentation on the side of the container, and slide it all the way up. Use the sharpie marker to mark each of the holes in the jig. Repeat for the other side. Melting the holes DO THIS IN A WELL VENTILATED AREA. YOU DO NOT WANT TO BREATHE THE FUMES. DO NOT CUT OR DRILL THE HOLES. THE PLASTIC OF THE BOX WILL
MakerWorld · bri0nac
MakerWorld · R C 3D
MakerWorld · IXPatch
MakerWorld · Ukdavewood
MakerWorld · keeeal
MakerWorld · vr6syncro
MakerOnline · FlwidPrint
MakerOnline · FlwidPrint
Cookies a měření. Nezbytné cookies jsou vždy; měření návštěvnosti a reklamy jen s vaším souhlasem. Víc o cookies