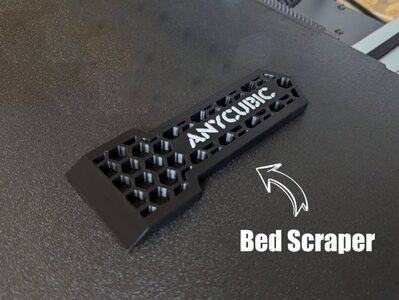
Anycubic Scraper
MakerOnline · piodeer

MakerWorld
Licence (jen pro osobní použití) dovoluje jen nekomerční použití. Stáhněte si soubor u zdroje, nahrajte ho k nám a vytiskněte na pronajaté tiskárně pro vlastní potřebu, ne na prodej.
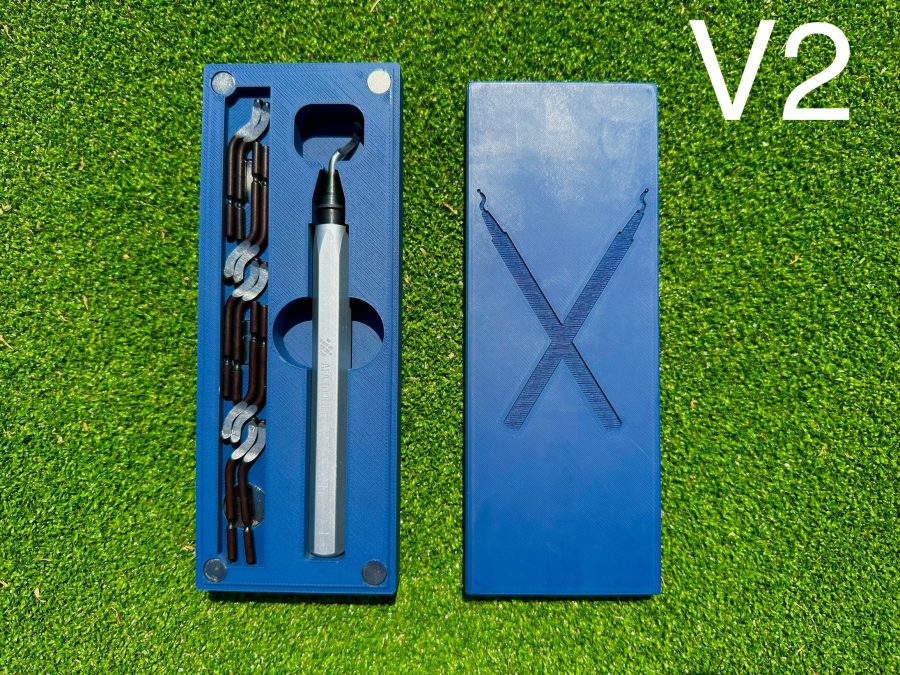
Nahrát soubor a vytisknoutUpdate: Created a version 2 based on feedback. I've left the V1 version in the files if anyone is interested and the instructions still apply for that one, it is only slightly different for V2. Changes for V2: 1.) Made logo larger to aid in support removal, supports are REQUIRED for this. This fixes the issue with some peoples slicers bridging the logo incorrectly. 2.) Made magnet holes slightly larger/deeper to aid in magnet assembly. Glue is now REQUIRED and it is no longer press fit so variance in print quality shouldn't affect it like it did with the old press fit method. 3.) Increased the size of the cavity for your finger/thumb when pulling the tool out of the case. If you want to print the bottom part of the case, but keep your old top in order to take advantage of the larger finger holes, it will still work fine. The bottom part of V2 just needs glue for the magnet. Otherwise they line up properly. The sexiest deburring tool case you've ever seen is waiting for you to print it. Will this case fit your current deburring tool? Probably not, unless you have this one. Deburring Tool Will you buy a new one just so you can print this case? I don't know, but I would. To check to see if yours will fit: Tool Only Opening 13.5mm Width / 129.5mm Length Tool with bit Opening 13.5mm Width / 151.4mm Length Instructions: (for V2 just enable supports and glue magnets) This was designed to be printed as oriented straight out of the STL. The case should be cavity side up and the lid should be logo side down with no supports(please read the note below!!!). The bridging on the logo is intentional in order to achieve the texture you see in the pictures. Note: I've seen some users say the bridging went length-wise with the logo, which it should not do. Please make sure you check those layers before printing to ensure the bridging is done horizontally on the lid so it is as short as possible. Im unsure if this is related to different slicers or layer heights
MakerOnline · piodeer
Printables · Vic
MakerWorld · wuguigui
Printables · maby
Printables · Matt
Printables · SemkoAnton
Printables · nguyenkvvn
MakerWorld · vr6syncro
Cookies a měření. Nezbytné cookies jsou vždy; měření návštěvnosti a reklamy jen s vaším souhlasem. Víc o cookies