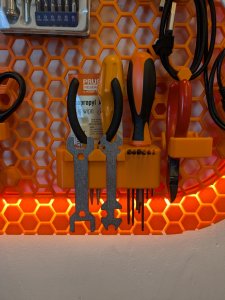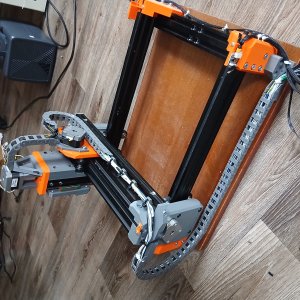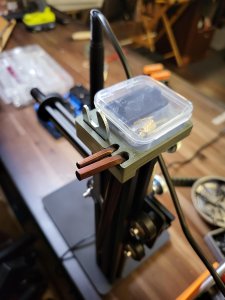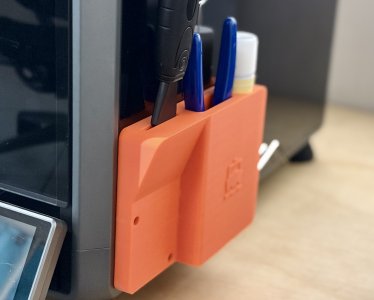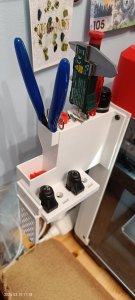
Flashforge AD5M - Enclosure attached tool holder
Printables · Vic

autor Prusa Research · Printables
Licence (jen pro osobní použití) dovoluje jen nekomerční použití. Stáhněte si soubor u zdroje, nahrajte ho k nám a vytiskněte na pronajaté tiskárně pro vlastní potřebu, ne na prodej.
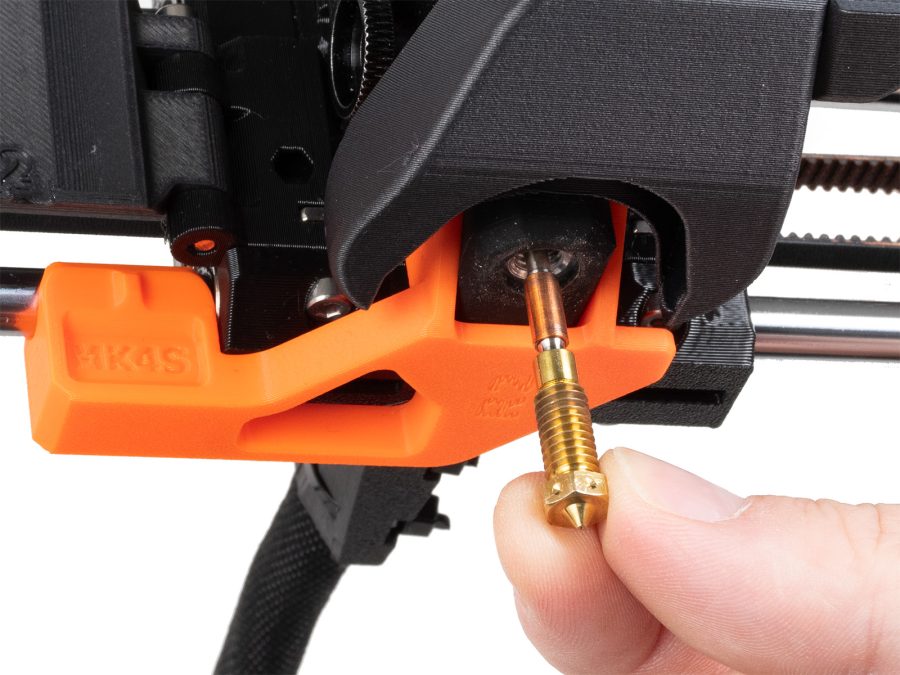
Nahrát soubor a vytisknoutDescription With the Nextruder, you have two ways to change the nozzle - you can replace the entire hotend or just switch out the nozzle without removing the whole assembly. However, changing just the nozzle involves some risk. You need to grip the heater block firmly as you unscrew the nozzle. If you put too much pressure on the nozzle that's still partially connected to the heat break, you might bend the nozzle tube. Also, the heater just hanging on the wires once the nozzle is removed is far from ideal. This accessory secures the Nextruder's heater block firmly in place. It allows for rapid nozzle changes with minimal risk of bending the nozzle tube. Available Variants • Nozzle Replacement Tool - MK4S sock: For use with a hotend that has a silicone sock. • Nozzle Replacement Tool - MK4S: For use with a hotend without a silicone sock. • Nozzle Replacement Tool - MK4S E3D sock: For use with a hotend using E3D nozzle that has a silicone sock. • Nozzle Replacement Tool - MK4S E3D: For use with a hotend using E3D nozzle and without a silicone sock. Print instructions • print settings: 0.20mm STRUCTURAL, 2 perimeters, 15% Grid infill • print material: We suggest PETG (or PC Blend Carbon Fiber for high temperature resistance in case the heater is still a bit warm) Required tools • Uni-wrench or HEX 7mm socket • Steel brush (for cleaning the nozzle and heaterblock) How to guide Safety and Preparation: WARNING: Ensure the printer is completely cooled to ambient temperature before beginning installation. Attempting to install the Nozzle Replacement Tool on a hot printer can result in serious injury due to burns. TIP: To prevent damage to the print surface by dropping an object, it is recommended to cover it with a protective layer (e.g. piece of cloth, thick cardboard). Installation: • Unload the filament from the Nextruder. • Make sure that the heaterblock is clean. • Turn the printer OFF. • Open the fan door completely to ensure you have
Printables · Vic
MakerOnline · piodeer
MakerWorld · wuguigui
Printables · maby
Printables · Matt
Printables · SemkoAnton
Printables · nguyenkvvn
Printables · raphworks
Cookies a měření. Nezbytné cookies jsou vždy; měření návštěvnosti a reklamy jen s vaším souhlasem. Víc o cookies