Printables.com
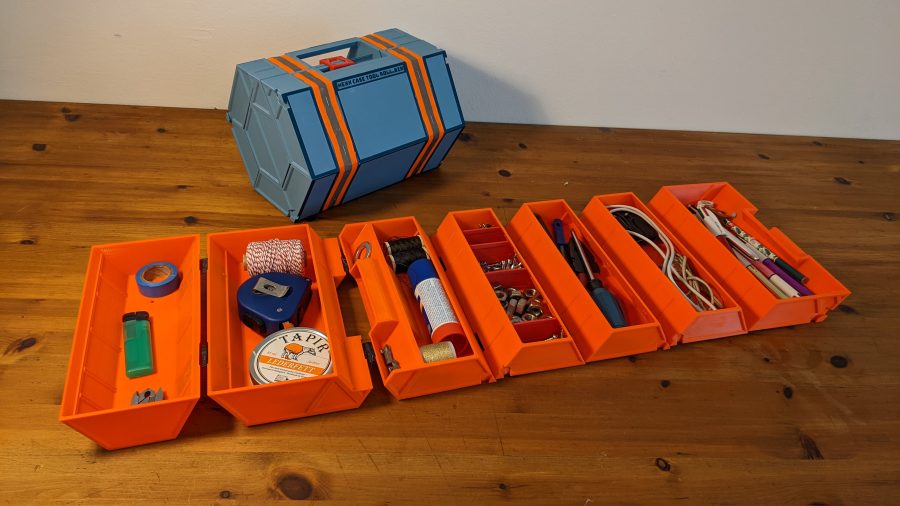
Hexx Case Tool Roll
🏭 100+ tiskáren
·
po celé ČR
·
⏱ platba po přijetí tiskárnou
Autor modelu: Davie.BIN
·
originál na Printables.com
Popis
After seeing many other container projects, and old products like the Dutch Roly Kit, I thought I'd try my hand at designing my own. I spent weeks worth of manhours working on prototypes and iterations, so please, if you really like it, and print more than one, or use it commercially, please throw a little tip in the donation bucket. ;)
Features
• Modular
• Stackable
• Standardized
• Efficient Material Usage
• Scalable
• Modifiable
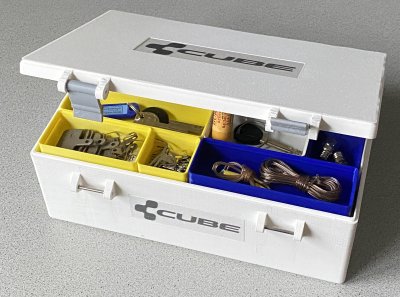
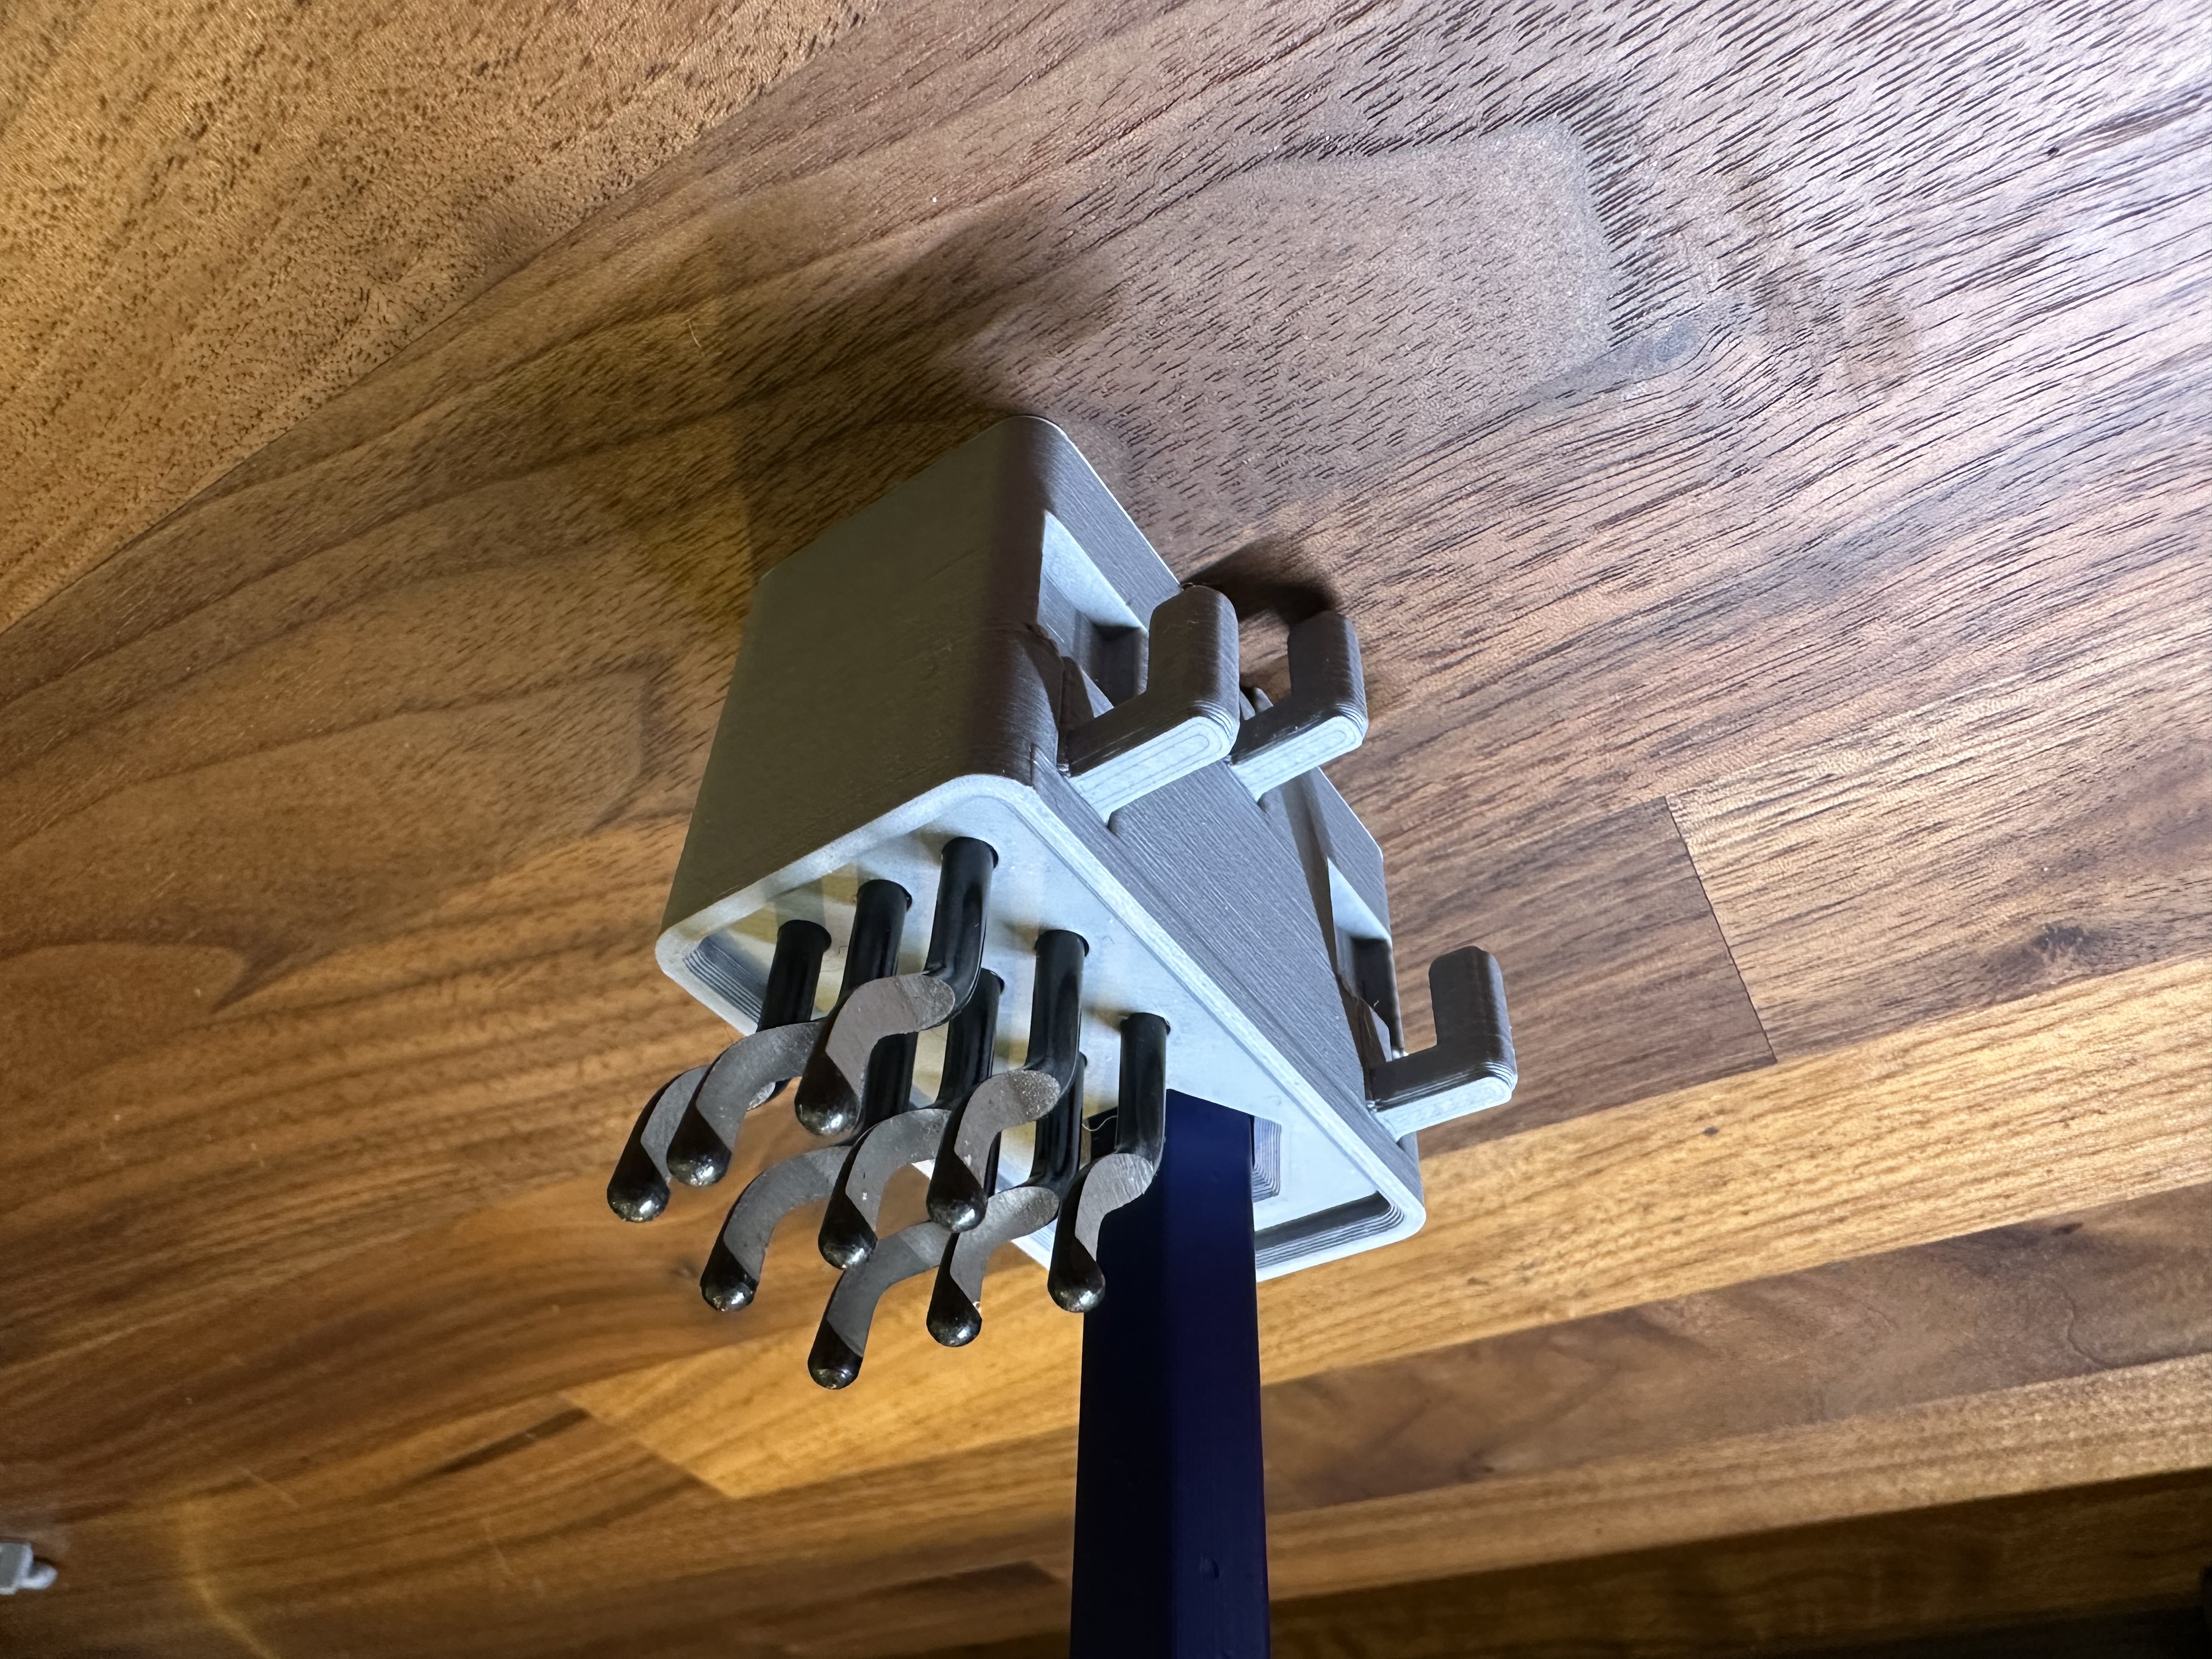
There were many considerations to getting this system dialed in. Of course, the hexagonal pattern can stack and tile together with no gaps. The proportions allow 5 to be lined up longways to match 7 lined up shortways. This is for efficient packing on a shelf, but also packed into the foot print of a standard Euro crate, or pallet. (Arranged 3x4 is also good) The complete, closed roll is ~24x17x19cm. The size and depth of each compartment effectively fits most handtools, but also most spools of thread, or small paint bottles, or fishing bait jars. The overall size was optimized for efficient extrusion outlines (~.42mm), and to fit on a Prusa MK3 print bed (with a little finesse, two compartments can be printed at the same time.) The exterior faces can be customized with colors, textures, or text by adding those elements to the first three layers of the print. The overall features, and strength of the tool roll case was optimized to use less than a single 1kg roll of filament when printed at 100% infill. Hopefully this accounts for normal printing run-out and false starts, but helps lower waste. Lower density can be used to shave off about 15% of material usage. Multiple methods can be used to fasten the compartments together, either bolts, staples, and/or glue. The belts are specced at 25mm/1inch and can be a nylon belt, a plain ribbon, cut section of cloth, or even bias tape depending on what you have around, or how strong you want it to be. Small fixtures within the compartments can hold divider panels, either the ones provided in the print files, or can be easily cut out of cardboard of various thickness. Clever sliding panels and false bottoms can improvised. A standard 17x30mm washer is used to combine the cases together. The included printable piece also does the job, but with a bit more flex factor. A cut piece of acrylic will also do. The box can be locked closed with a pretty wimpy luggage lock, or printed padlock, if you'd like to keep people from snooping around.
Designed to work flawlessly with the additional Tool Box bin underneath.
The additional Grip Lid also does a lot to make grouping them into a package, easy.
The sliding latch is updated and finished! If you've downloaded one of the original models, sorry, but the newer versions of piece A and the Latch might work out a little better.
Unfortunately, the biggest drawback is if you have to get in the middle containers, you'll always have to roll open the whole case. ;)
Print Settings and Tips
Filament: PETG, PLA, ABS, etc
Resolution: .2 recommended
Top/Bottom Layers: 3
Perimeters: 3+
Infill: 100%
Infill/Bridging Angle: 45°
Bridge Flow Ratio: 1+
Skirt/Brim: Recommended
Raft: No
Support Material: No
Thin Wall Detect: No
However, if you wanted to save material, as few as 2 perimeter loops, and as little as 50% infill can still yield good, yet more flexy and fragile, results. I've received good results with both PLA and PETG, but would recommend PETG. The thinness of the items make the characteristic limitations of PLA more apparent.
Considering how this scales, I would recommend anywhere between 80% smaller, to 130% larger, but of course that'll break cross compatibility when stacking. The size of the features will change, and you'll have to find new dimensions for the belts, washers, or bolts, but after some quick research, it seems like it'll generally work out.
A couple pieces have manually modeled support material added to reinforce some long bridging strokes. These can be clipped off easily after printing, or the mesh file can be split apart in any slicer app and removed if necessary.
The first few layers are designed to give a specific texture and appearance to the outside, while allowing easy color changes. If this isn't desired, adding additional solid objects, or simply sinking the objects .3mm on the build plate in the slicer will skip this with no problem.
Besides material changes on the first few layers to give an outline effect, I tend to insert a print pause and switch materials to a lighter color filament just for the top layers of the floor surface on the interior of the compartments (~2.2mm layer height.) This is for more internal visibility and contrast, and creates a nice stripe effect on the ends.
Assembly Instructions
Supplies:
• 2x 80cm of Belt, 2.5cm/1" wide, by about .15cm thick
• 2+ Steel Washer 17mm I.D. x 30mm I.D. x 3mm thick (DIN 125)
• Hot Glue, or Super Glue, or other plastic epoxy; or
• 34 M2.5x5 Bolts countersunk (DIN 963 ISO 2009)
Podobné modely