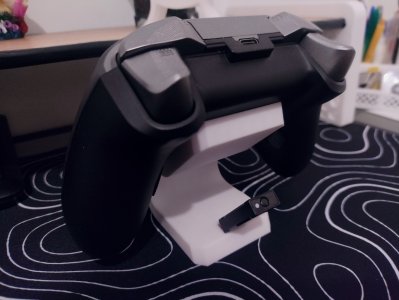
Game Controller Holder
Printables · GreenBit

autor Josh-3d · Printables
Licence (CC BY-NC (jen nekomerčně)) dovoluje jen nekomerční použití. Stáhněte si soubor u zdroje, nahrajte ho k nám a vytiskněte na pronajaté tiskárně pro vlastní potřebu, ne na prodej.
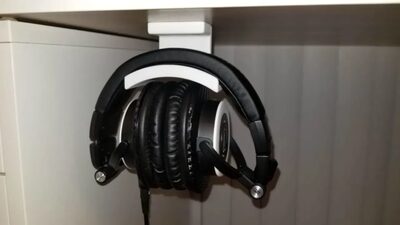
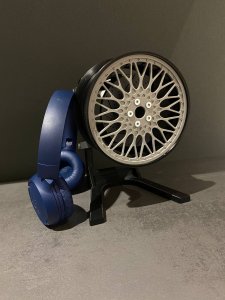
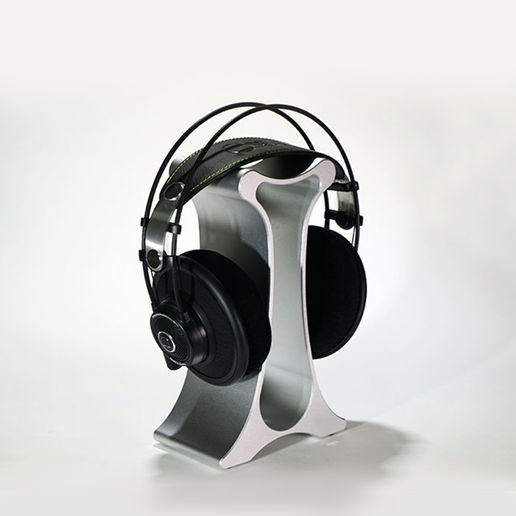
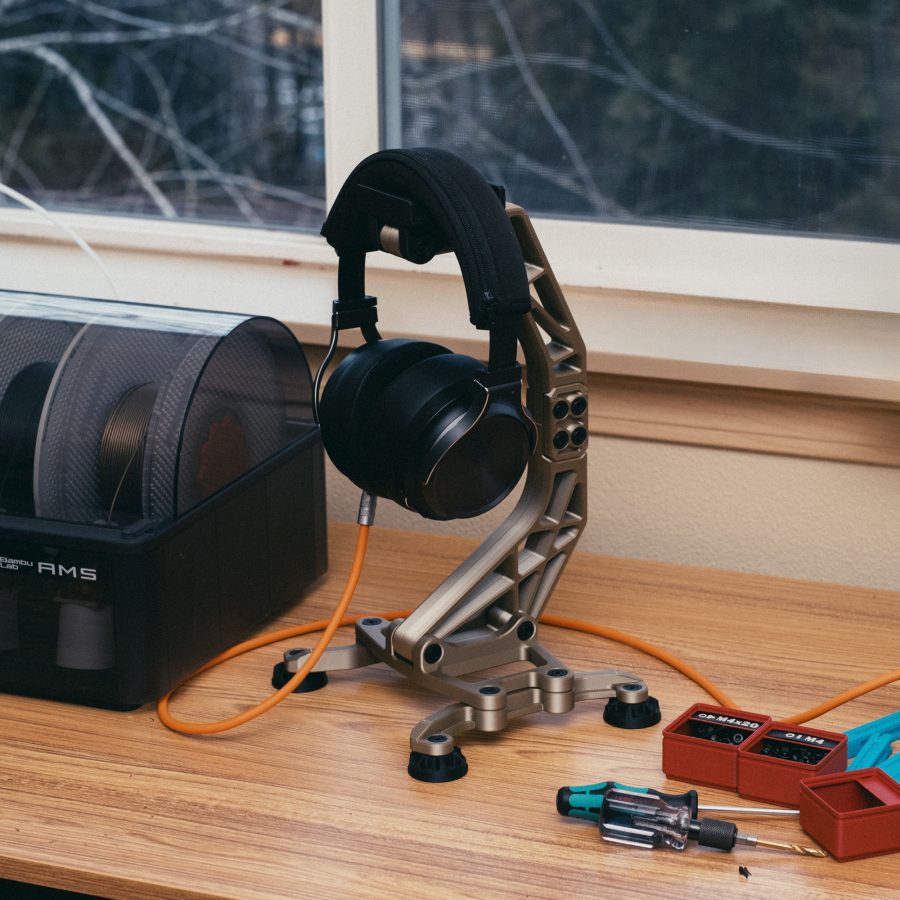
Nahrát soubor a vytisknoutIntroI have originally setup a Bambu Studio project file that has everything laid out, however, if you're not using Bambu Studio or it's printers, please refer to this image for layout, printing orientation, number of parts needed, etc. Of note, in particular, the Left and Right pieces of the main arm are just mirrors of each other! ModelA headphone stand with industrial styling!I have my previously designed stand, but it's not always suited for larger headphones. I also wanted something a little more industrial styled, and thus managed to come up with this.Model is featured in Bambu PLA Matte Charcoal and Bambu Iridium Gold Metallic. A good alternative with similar look to Bambu's metallic is Hatchbox's Metallic line. There might be others, but that's the one I'm aware of.[Community Spotlight]PNWPrints has made a variation of the headphone holder, to accommodate a larger band. Check it out if the band on your headphones is overflowing on the standard holder. [Tools & Assembly]Assembly is pretty easy. You'll need the following hardware and tools.M4x10 - 2M4x16 - 4M4x20 - 4M4x25 - 4M4x40 - 4M4 Nuts - 16Hex DriverDrill bit for clearing holes For the screws, I am using M4 Socket head cap screws. If you don't have M4 screws on hand, I would recommend purchasing an assortment kit, like this one from amazon. Start by clearing out the holes as illustrated. A flat surface was left on these holes so additional support wouldn't be needed during printing. Only the leg and foot pads will need this. For assembly, you'll be using the 3d printed spacers along with the M4 screws. The side with the nut is wedged slightly, so as you tighten it, it should grip onto the model instead of spinning.For the headphone rest, first screw the top to the bracket.Then use the following image to help guide the rest of the build, and which screws go where. First assemble the main arm, and then work your way outwards, attaching the base, legs, feet, and headphone r
Printables · GreenBit
MakerWorld · RemcoGoy
MakerWorld · CitySideGig
Printables · Michael Seaton
Printables · Artemix
Printables · TriDimen Studio
Cults3D · 3Rdesign
Cookies a měření. Nezbytné cookies jsou vždy; měření návštěvnosti a reklamy jen s vaším souhlasem. Víc o cookies