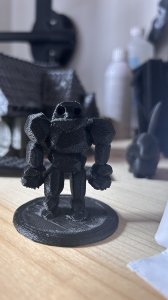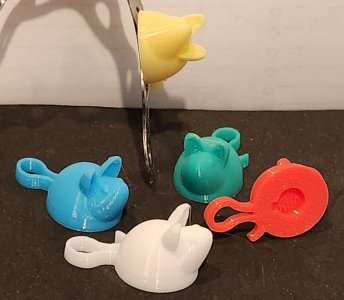
Tabletop Mouse Player Token
Printables · Thoren66

autor Việt Phan Xuân · Printables
Licence (CC BY-NC-SA (jen nekomerčně)) dovoluje jen nekomerční použití. Stáhněte si soubor u zdroje, nahrajte ho k nám a vytiskněte na pronajaté tiskárně pro vlastní potřebu, ne na prodej.
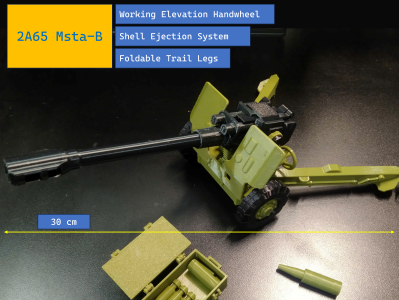
Nahrát soubor a vytisknoutYoutube video here:https://youtube.com/shorts/lemiBEvBD6U?feature=share Supports and a brim are required. Z-hop may also be needed if your prints tend to get knocked off the bed. If the print file has any issues, please let me know. 2A65 Msta-B - ASSEMBLY GUIDE 1. Cartridge Case Section Assemble the two components as shown in the illustration. Prepare a short spring and secure it in place using glue. Note: Glue alone may not hold the spring securely over time. Use a small strip of paper, insert it into the tail end of the spring, and fix it in place as shown. Use a piece of filament to attach the spring assembly to the rear of the cartridge case. Apply glue to secure the rear component to the cartridge case. Insert a shell to test whether the mechanism functions properly. 2. Frame Section Assemble the hinge components onto the main frame, and use glue to secure them in place. Assemble the wheels as shown in the illustration, and apply glue to fix the two halves of each wheel together. Note: Do not attach the wheels to the frame at this stage, as they may interfere with the installation of the gear components. Install the two trail leg hinges onto the main frame. Note: Carefully observe the orientation of the hinges to avoid incorrect installation. Ensure that the recessed side of each hinge is facing outward, as shown in the illustration. Apply glue to firmly secure the hinge components in place. Attach the two trail legs and use pins to secure them in position. The recessed feature on the hinges is designed to lock the trail legs in the deployed position. Open and fold the legs several times to ensure smooth and stable operation. 3. Elevation System (Gear Assembly) Attach the handle grip to the handwheel, using a short piece of filament as a pin, and secure it with glue. Connect the handwheel to the worm gear. Note: The shafts are chamfered to ensure a proper fit. Pay close attention to their orientation when connecting them. Install the nex
Printables · Thoren66
Printables · PyneVoldor
Printables · OnkelFief
MakerWorld · gholland
MakerOnline
Printables · Phylius
MakerWorld · agepbiz
MakerOnline · GOP3D
Cookies a měření. Nezbytné cookies jsou vždy; měření návštěvnosti a reklamy jen s vaším souhlasem. Víc o cookies